And here's lesson 3, tips for food styling ... curries!!! And "mushy" brown food in general probably eheh
I love brown and orange.
And I love brown food (eat and photograph!)
I don't like to brag, but I appreciate when someone has something nice to say. And I remember that time that Joanie Simon (@thebiteshot) called me - in a comment on IG - the queen of brown food.
So thanks so much Joanie (even though I don't feel the queen)!
I think it's all about treating brown food like any other food. It's nothing scary, I promise.
Now let's see these tips for food styling curries!
P.S. another request was to style stews. These tips applies to stews as well.
P.P.S I know that curries can be other colors' too!
Recap:
- Click to read food styling tips on salads
- And click to read food styling tips on noodles
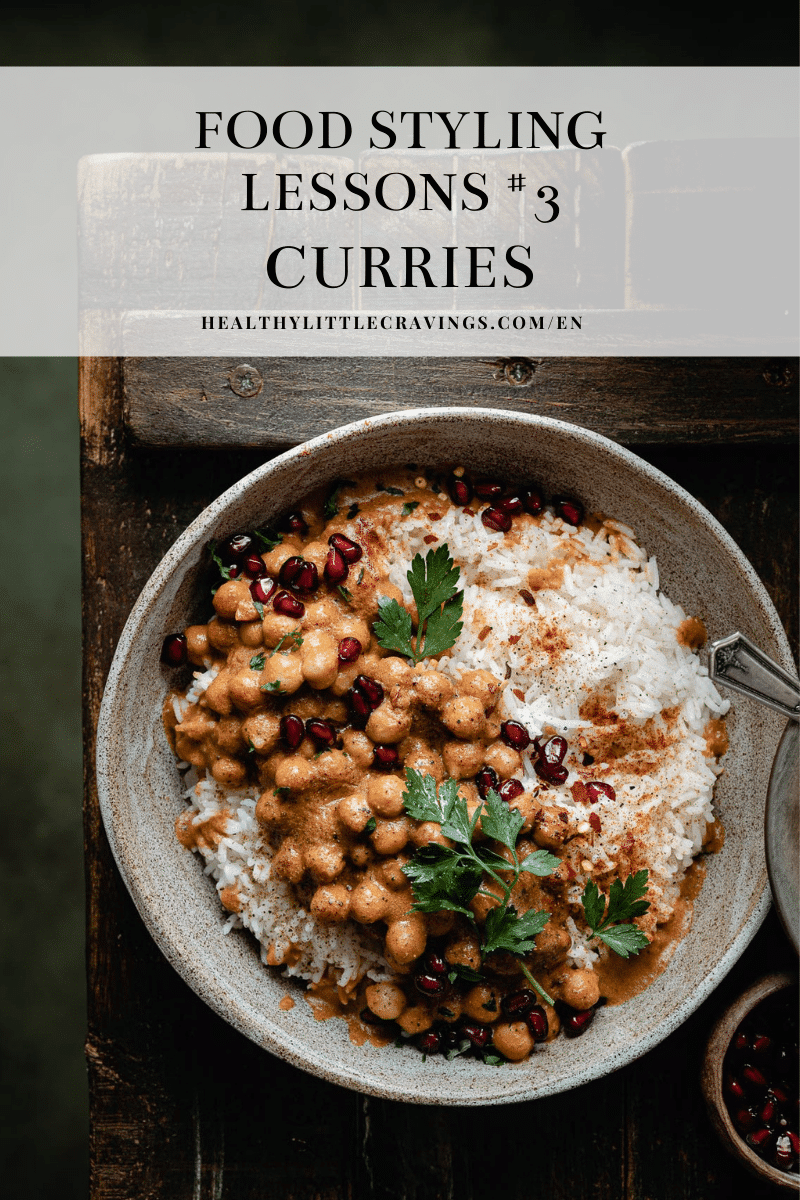
top tips for food styling curries like a pro
Like I said in the salads and noodles posts, food styling is all about making food scrumptious, "attractive", appealing in your photos.
It's about bringing out the best of what we are about to photograph (and eat)!
So let's see what to pay attention to, when it comes to food styling curries.
1. Colors play a huge role
"AGAAAAAIN?" I hear you saying.
Yes, I am going to talk about this first, again, like I did for salads and noodles.
The first of the tips for food styling curries is definitely paying attention to the colors you are going to use, both in the dish and in the rest of the composition.
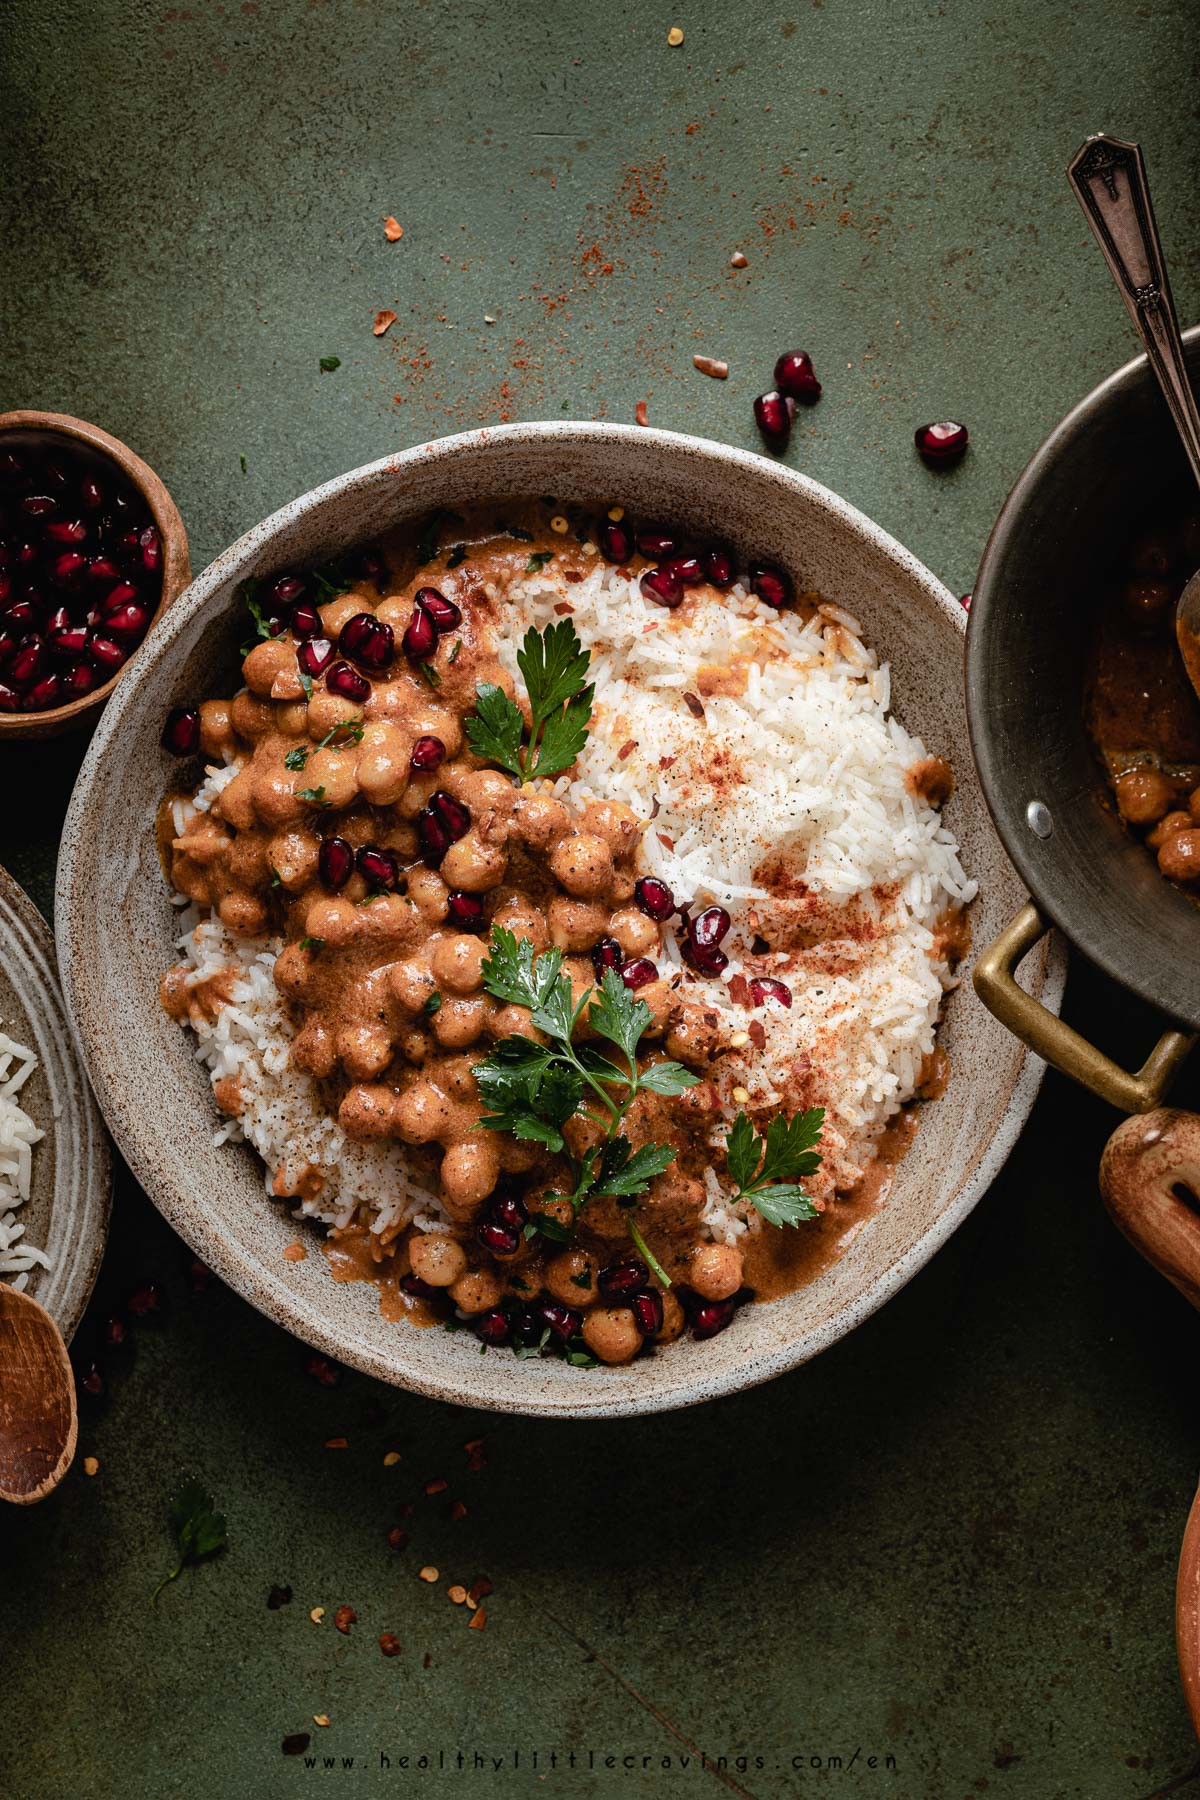
One way (not the only one) we can consider brown is a dark orange. But if it has a bit of white in it, it can become beige (like the photo of curry above, a warmer beige).
Considering this, you can decide the color harmony to use.
Example: if you want to play with complementary colors, and depending if your curry is more on the orange or red side, you could use blueish or greenish props/backdrop/ingredients.
Oh, are you obsessed with monochromatic or analogous color harmony like me? Play with all the different shades from the same color (or two colors)! Always think about the prop and backdrop (and also garnishes!).
Another very important thing: remember about colors BEFORE, DURING, AFTER the photo shoot.
BEFORE in the planning phase, when you decide the color harmony, like we just said.
DURING, when you set the white balance. I wouldn't recommend using a too warm/cold WB.
AFTER, during the post production, when you can play with color grading. Look at this:
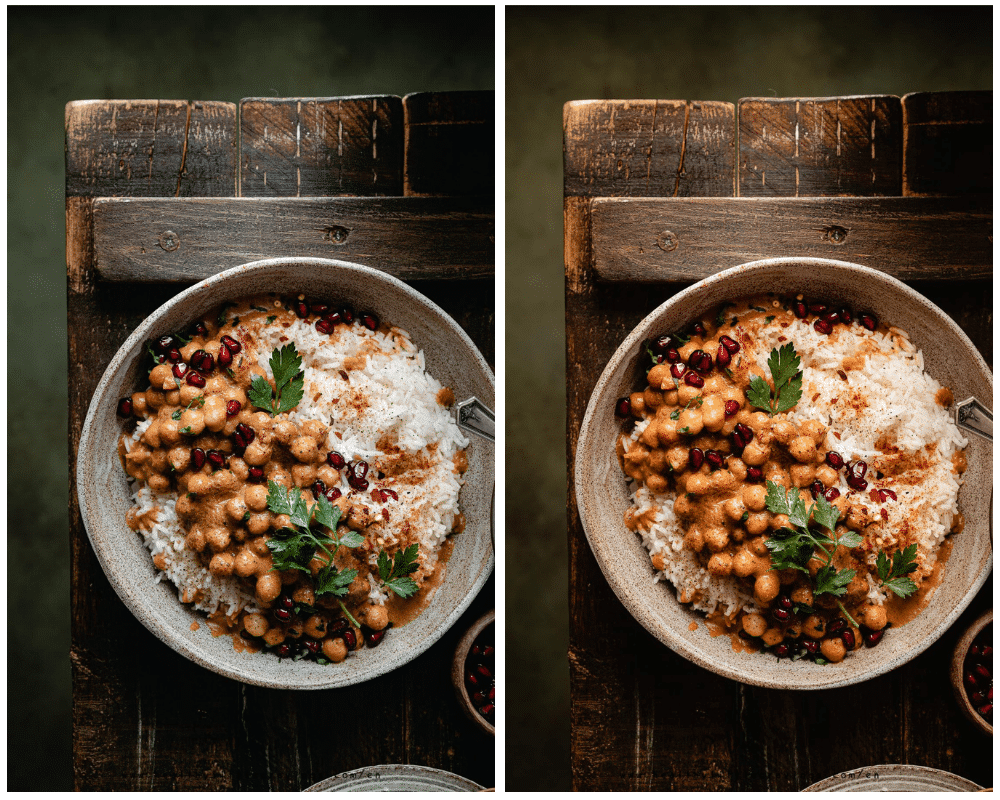
In the first photo I've used a blueish color grading global adjustment. In the second, an orange one. See the difference? It can really set the mood.
2. Play with garnishes
Garnishes are always a good idea! Think about the ingredients you've used in the dish and think about what you can use on the surface: the spices, the seeds, the coconut milk...
So never forget to use fresh herbs (like I always say, use la crème de la crème), seeds, spices (chili flakes are so cute), lime slices and more... Everything that can add a detail, an extra touch!
I found this page called NoWorriesCurries which gives a lot of great ideas for garnishes.
3. Make ingredients recognisable
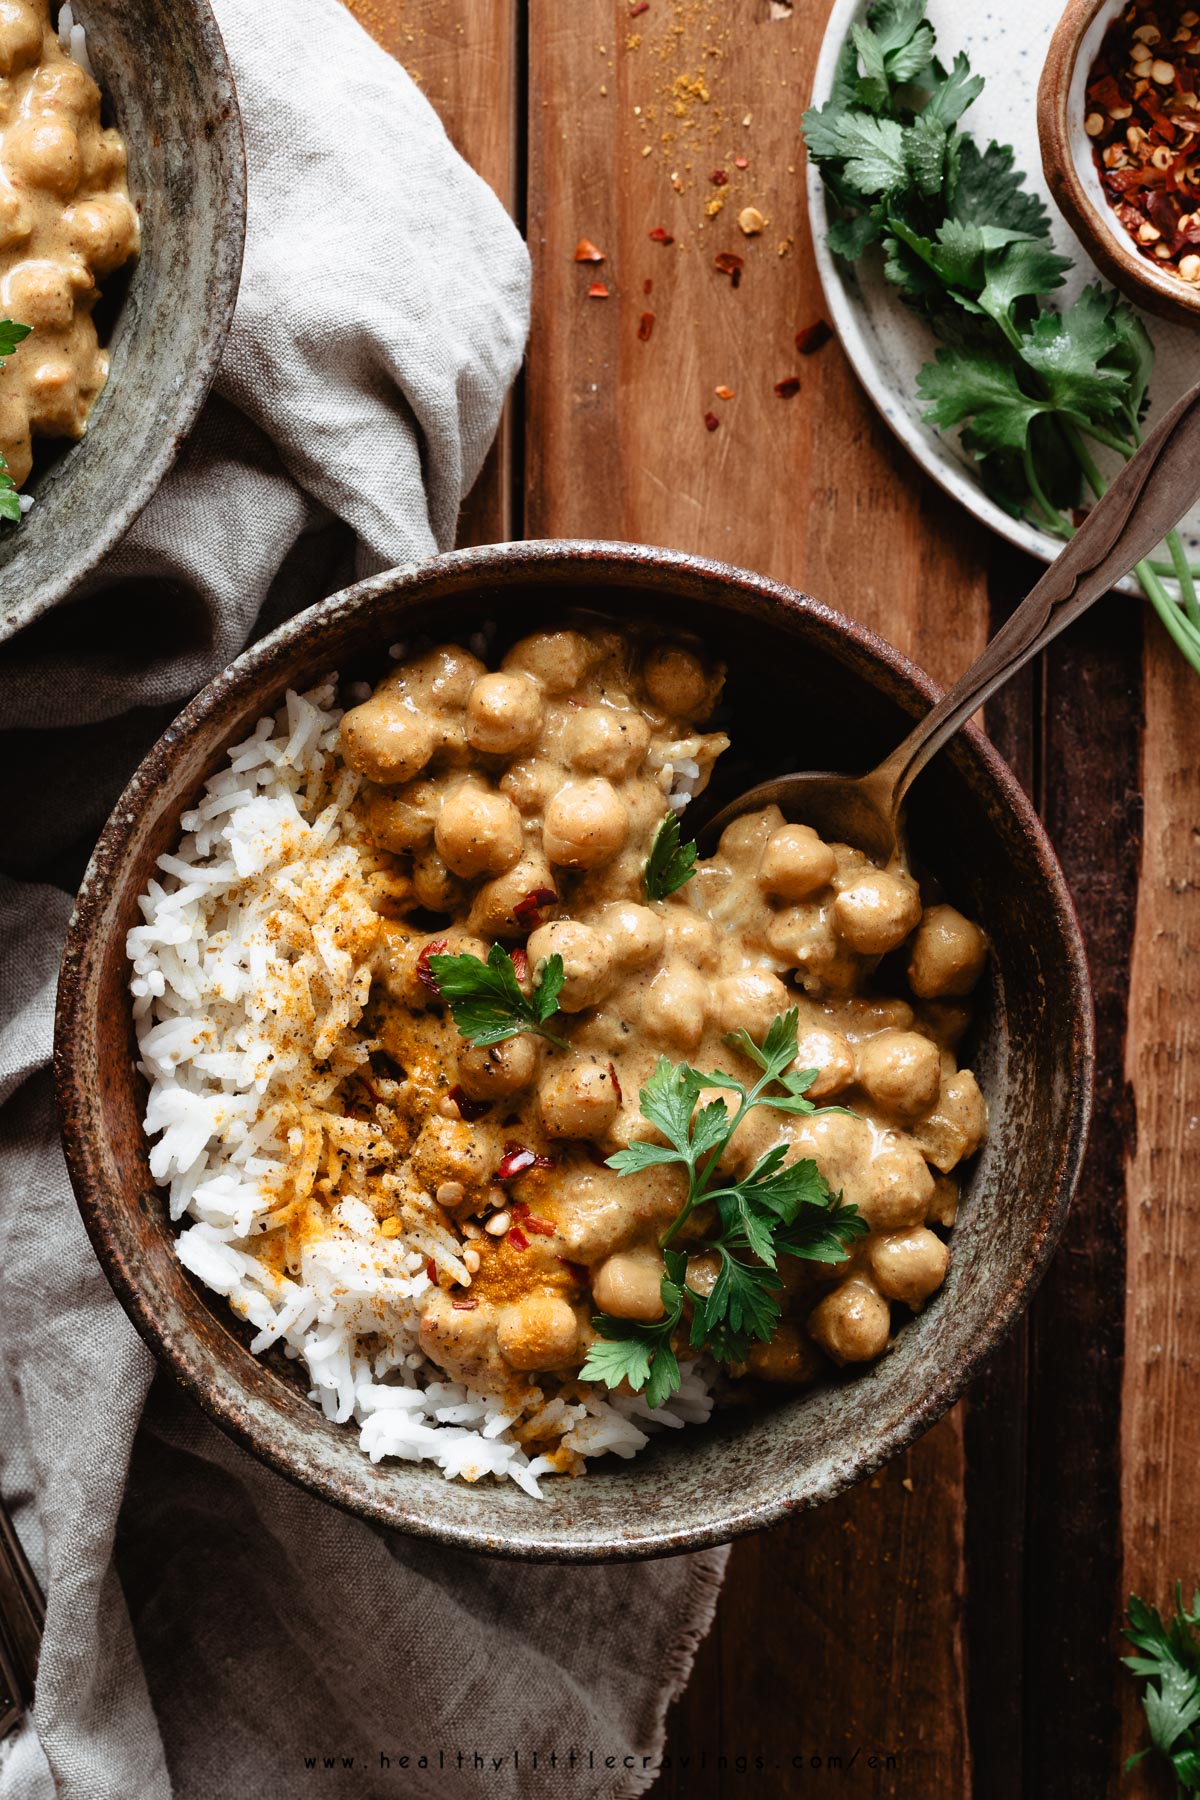
This is another of those recurring tips: is there something more frustrating for the viewers than looking at a dish and not knowing what it is? Maybe not everyone cares, but I do.
So my tip is always to give your viewers a hint of what it's inside, also to stimulate their taste buds.
Is it made with meat or fish? Or is it a vegetarian/vegan version with chickpeas or pumpkin?
I love my vegan chickpea curry for example, and I like my chickpeas to be visible and their shape recognisable.
PRO TIP: "recognisable shape" could mean that you have to set aside some of the pieces to then use on the most visible part of the photo, the surface (it could also mean to slightly undercook them to prevent them from being too mushy).
P.S. safety first, so make sure undercooking is not a problem.
4. Know your ingredients
What I said about ingredients in the noodles soup post is valid here too: "always think about what will happen to the ingredient if it will sit on the plate for a long time before the photo shoot, and how it will affect the aspect (is it still going to look good in photo?)"
In other words, you have to know your ingredients.
I think about the rice here, for example. I normally let it cool, but I make sure to use a drop of oil and I also make sure to rinse it very well before and after cooking, so it doesn't stick. I don't want big clumps of rice in the photo.
Also think about the gravy: do you need to add a splash of water/other liquid to change the consistency so it looks good in your image?
Always think about these things.
5. Pay attention to textures
One of my favorite composition "tools" is texture. Photos are two-dimensional and in order to make them look almost 3D we need to create some sort of depth. Playing with texture is a great way to achieve that.
Now, in curries there's usually a lot going on. A lot of different ingredients and various textures in the dish.
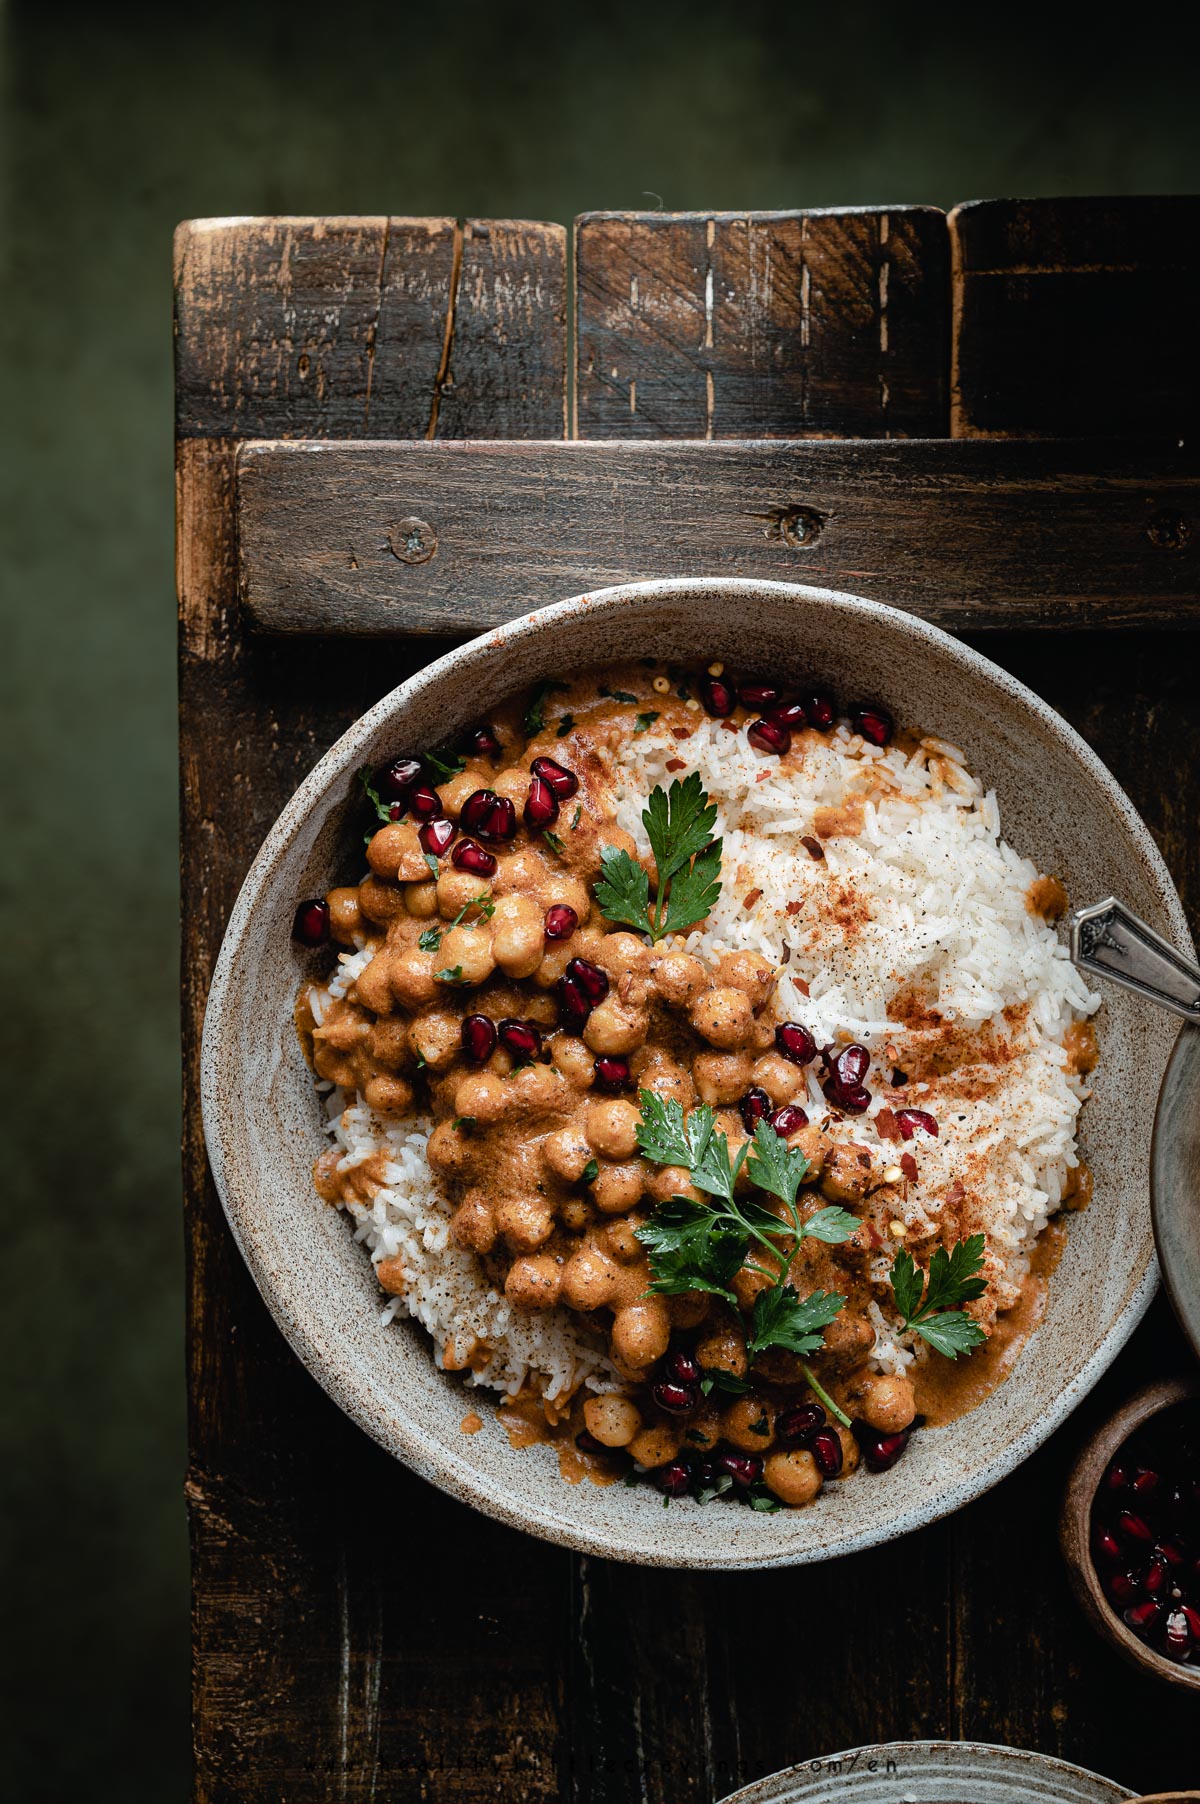
So my recommendation is usually to balance that by using a less textured prop/backdrop.
PRO TIP: In case you only have textured backdrops instead - and you're photographing from above - try to use a larger aperture (smaller f number) so you can blur some of the background and soften it. Like I did here.
6. "Harmonize" the rest of composition
Ok this is more a general tip and, again, it applies to every food.
In order to create a beautiful food photo and give the right value to the food styling, you need to think about what is surrounding the main subject. The supporting elements and the story. The message.
Like I said in point 5, there's a lot going on so my tendency would be to keep things minimal. BUT, that is not the only way.
In case you go with a more crowded scene, I highly recommending using supporting elements that are in no way distracting, in terms of color, texture, shape, size. Always think about their visual weight and harmonize the composition.
PRO TIP: how to choose these elements? Think about how you would normally set the table in daily life, what you would serve this with (and make it cuter!;)).
7. Use negative space
This is kinda related to point 5. When there's "a lot" on one area, I like to compensate with negative space.
That is exactly what negative space does: it creates balance and allows us to "rest" our eyes. It provides what I (not just me actually) like to call "breathing room".
So, try that next time you want to avoid the "too cluttered" look.
8. Play around with editing
Probably one of the top tips for food styling curries and brown food in general.
Editing plays a huge role.
When editing this kind of food especially I like to focus on the hue of brown. Like I said before, brown is a sort of dark orange.
BUT, in order to harmonize all the colors in your photo, you can a touch of blue and make that brown look cooler and more earthy (if that goes hand in hand with the overall mood).
Keep it warmer instead to evoke coziness!
Tips for food styling curries - the video
Here's the short video on how I style this salad. Remember this is the shorter version. Longer one is available for my email list subscribers (this list)
If you liked this post, please make sure sure to share it on Instagram! It would make me so happy! 🙂
Remember: if you found one or more of these tips useful, tag me on Instagram or DM me the photos!
Lastly, let me say again: do not be afraid of brown food in general! It's just like any other food.
There are a couple more thing to consider to style this type of food, which you can also find in the salads and noodles posts: playing with curves, for example, helps a lot!
Hope you like these tips for food styling curries! Share the knowledge!:)


Leave a Reply