Welcome to the second post of the food styling tips "column", a "place" where I share with you all I know about styling a certain type of food to bring your food photos to the next level.
A couple of weeks ago we learned what to pay attention to when food styling salads.
This week instead we're gonna talk about...NOODLES SOUP! (another request from you;)).
Let's see how to make them look beautiful in your food photographs. Ready?!
Recap:
- Click to read food styling tips on salads
- And click to read food styling tips on curries
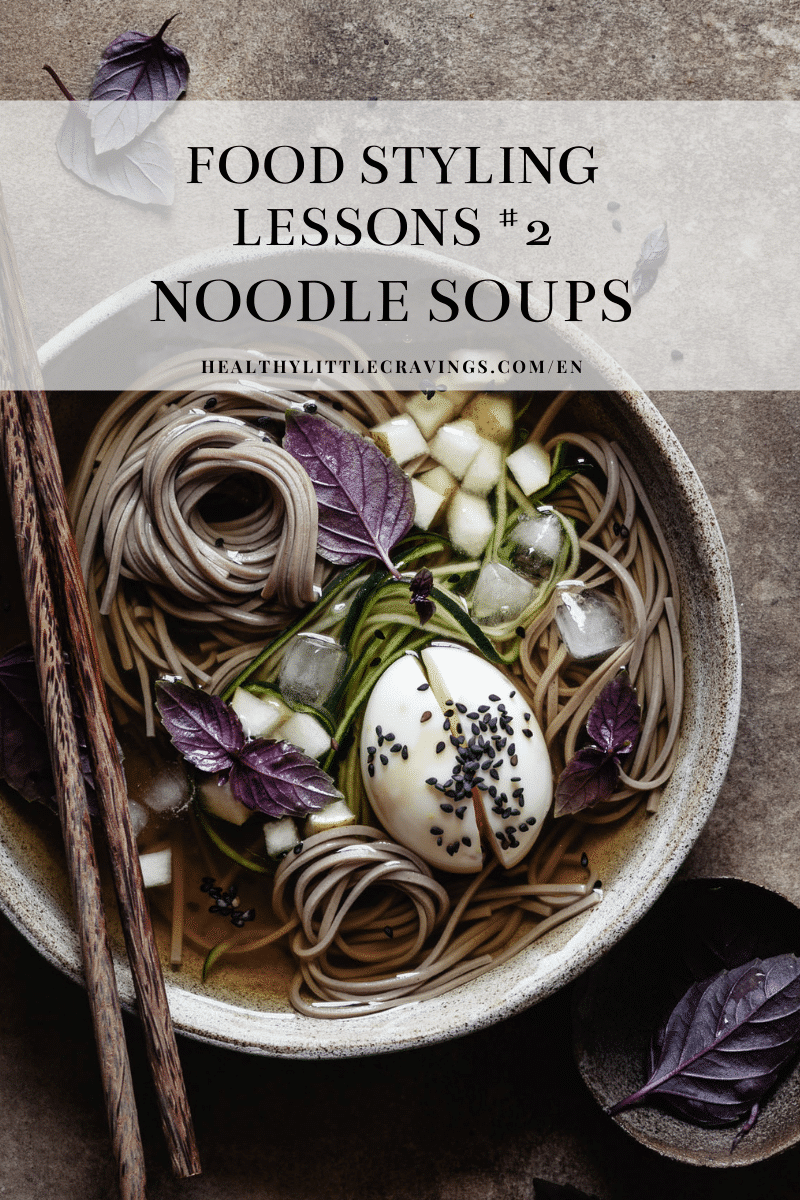
Fun fact about me? I used to be scared of styling noodles, now they're one of my favorite subjects and, as a food photographer, I'd LOOOOOVE to shoot a noodle soup cookbook! 🙂
Without further ado, let's start.
Food styling tips for noodle soups
So let's talk about today's subject: noodle soups.
First thing to know is that what you'll find in this post can be applied to other types of noodles dishes too (pasta for example!).
Second, you will see some recurring tips: that is because some of these simple tips are ALWAYS essential no matter what the food item is.
1. Color palette always matters
Like I said in the salad food styling tips post, this is KEY. In the very first phase of planning the photo shoot, I always think about my colors first (well, after the choice of mood/type of light).
Usually this is what I do:
- I think about the ingredients in my recipe;
- I look at the color wheel, and think about the color harmony I'd like to play with;
- Then think about other ingredients I could incorporate to achieve that color harmony.
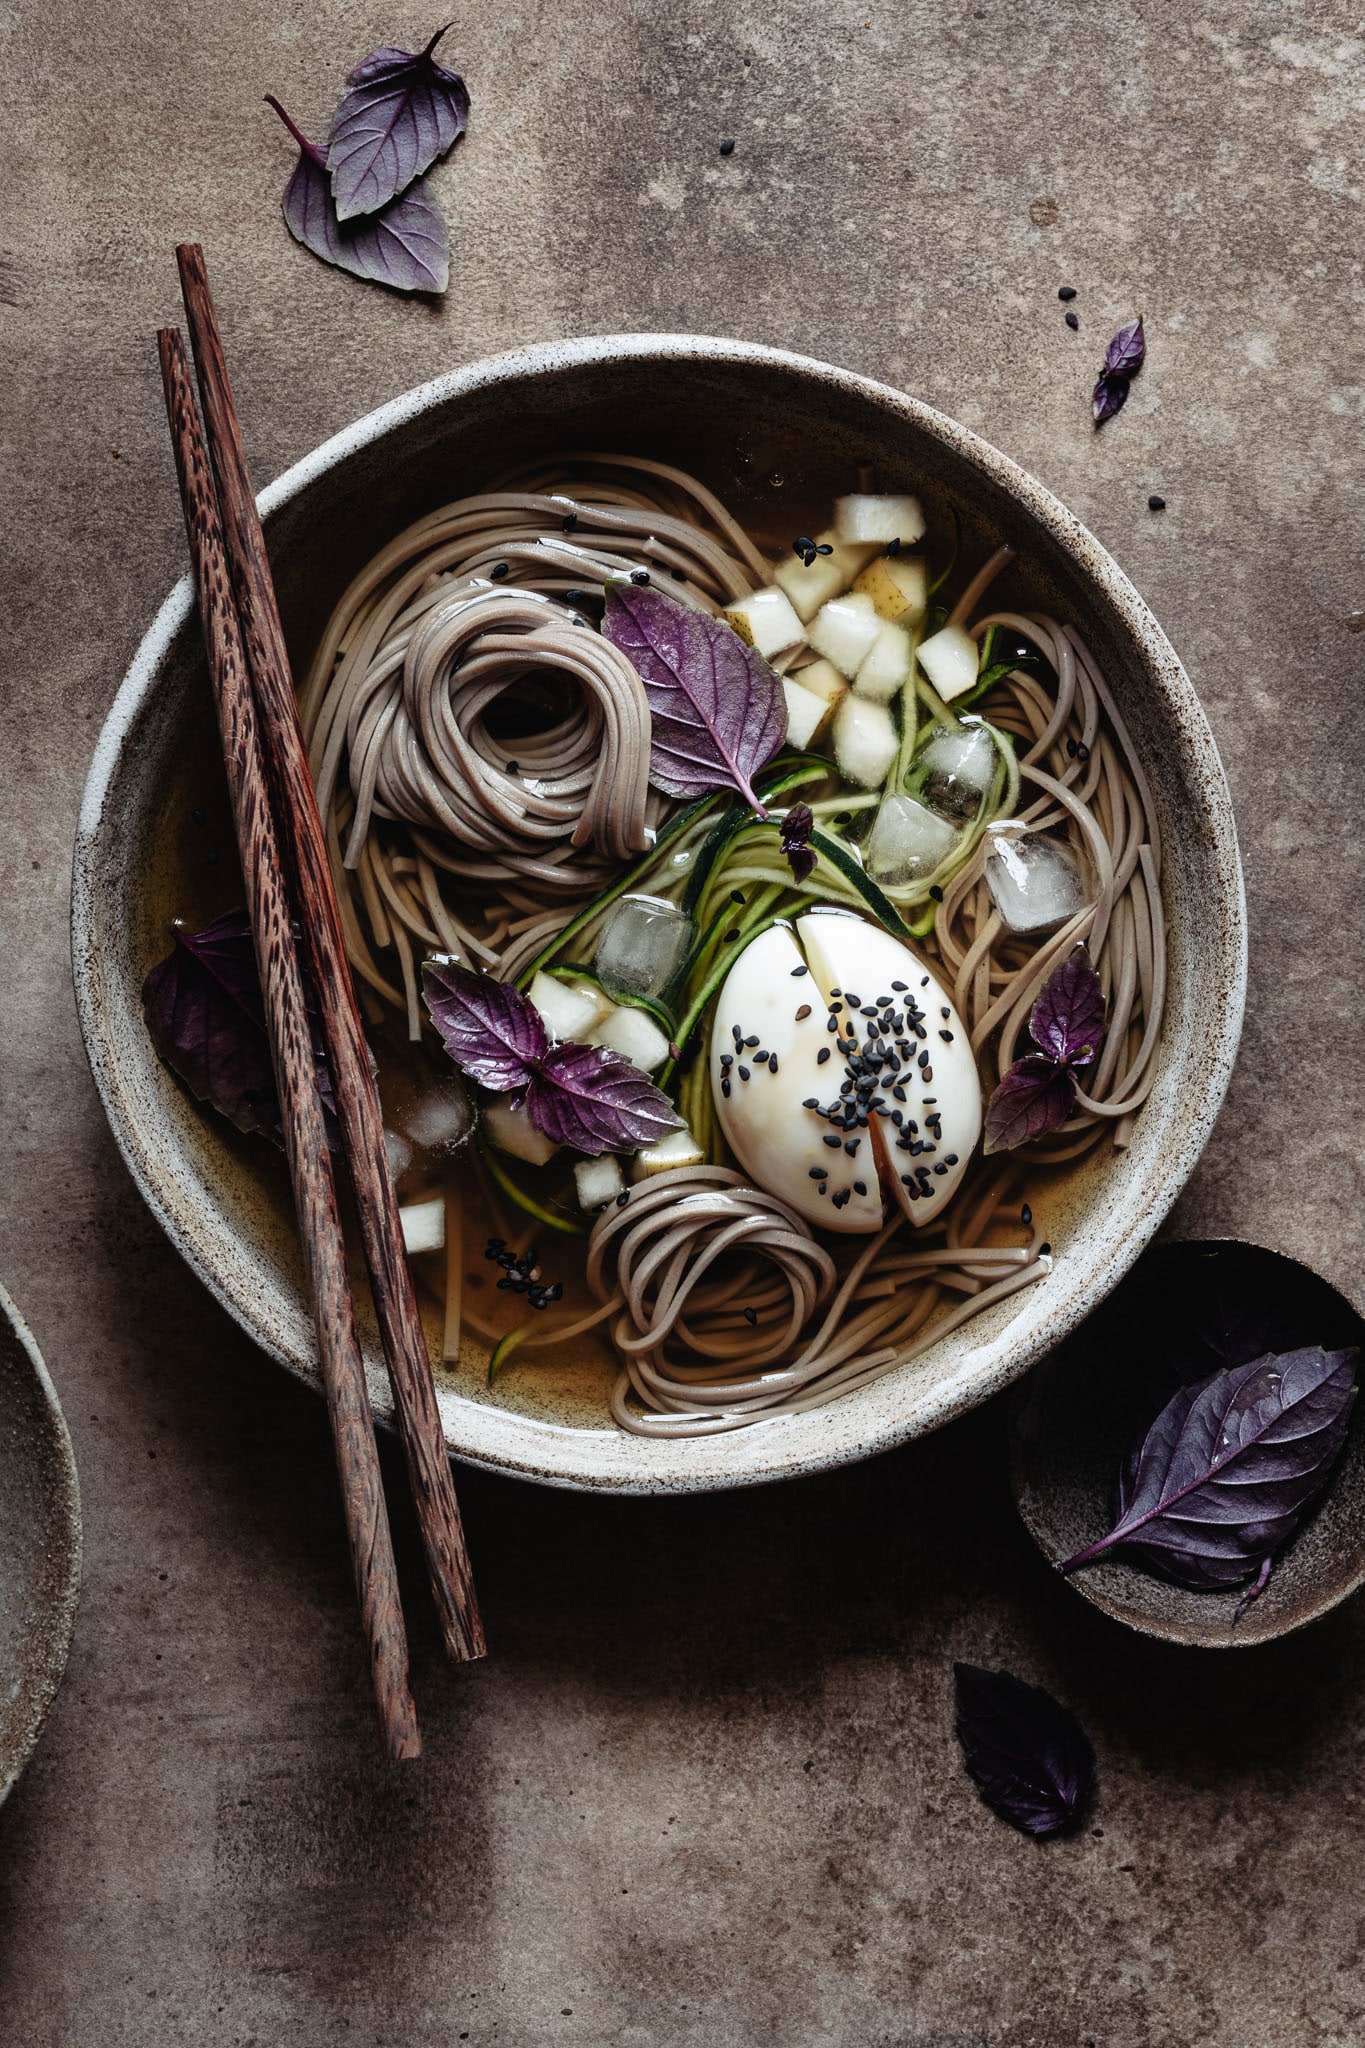
In the photo below (it's a chilled noodle soup), I absolutely wanted to use purple combined with brown and other neutral colors (then also added a touch of green). I should have used shiso but couldn't find it, so I've used purple basil instead.
I love playing with different color combinations (in this case, to me, it was purple and brown)!
2. Order of preparation (and keeping...in order)
If you're also a food blogger /cook, you know how important the order of preparation of ingredients is, especially when you have a more complex recipe. And you know also the importance of the mis en place.
Noodles are not difficult, but they usually require different preparations.
So in order to stay organized and not complicate things even more, you have to prepare everything in the "right" order (calculate the timing) and especially keep everything in order to avoid chaos.
Broth, noodles, mushrooms, veggies, tofu/egg/meat... there's a lot going on.
Usually I like to start with my broth (which is the longest preparation and it needs to cool down - see paragraph 4), then I prepare my vegetables and mushrooms (depending on how much time they need), then while noodles are cooking I prepare tofu or eggs (of course if you're using meat it will take longer, take that into consideration).
Rule of thumb: always think about what will happen to the ingredient if it will sit on the plate for a long time before the photo shoot, and how it will affect the aspect (is it still going to look good in photo?)
PRO TIP
When noodles are ready (I cook them 1 or 2 minutes less then required), I put them under running water, and then into a bowl with a tiny bit of oil so they don't stick.
3. And order of arrangement
Order of arrangement matters too.
I'll be short here: I like to start from the noodles (I carefully position them), then gradually pour a little broth.
I then start placing the other ingredients possibly from big to small: my egg(s) or tofu, vegetables, mushrooms/sliced mushrooms, spring onion, seeds etc
Then if I don't like something I go back and remove/replace.
4. Use cold ingredients
This is a preference.
I usually work with cold ingredients (cold broth, cold noodles...) just to avoid: 1. overcooking (hot broth keeps cooking noodles. What happens if it takes 20 minutes to take that photo?), and 2. to avoid the steam to ruin my lens when photographing from above.
5. How to darken the broth
First of all, confession moment here: yes I like to make my own broth (bones' or veggies'), but sometimes I also use store-bought just because it's quicker.
This is just to say that sometimes I am not in control of its color.
You may think it's not that important but it is. Why? Paragraph 1: color is essential.
Most of the time I like my broth a bit darker. That is because I don't want my viewer to see the bottom of the bowl, I just want him/her to focus on what's on the surface.
If I use homemade stock I know I can go with shiitake dashi or dark chicken stock (from roasted chicken bones).
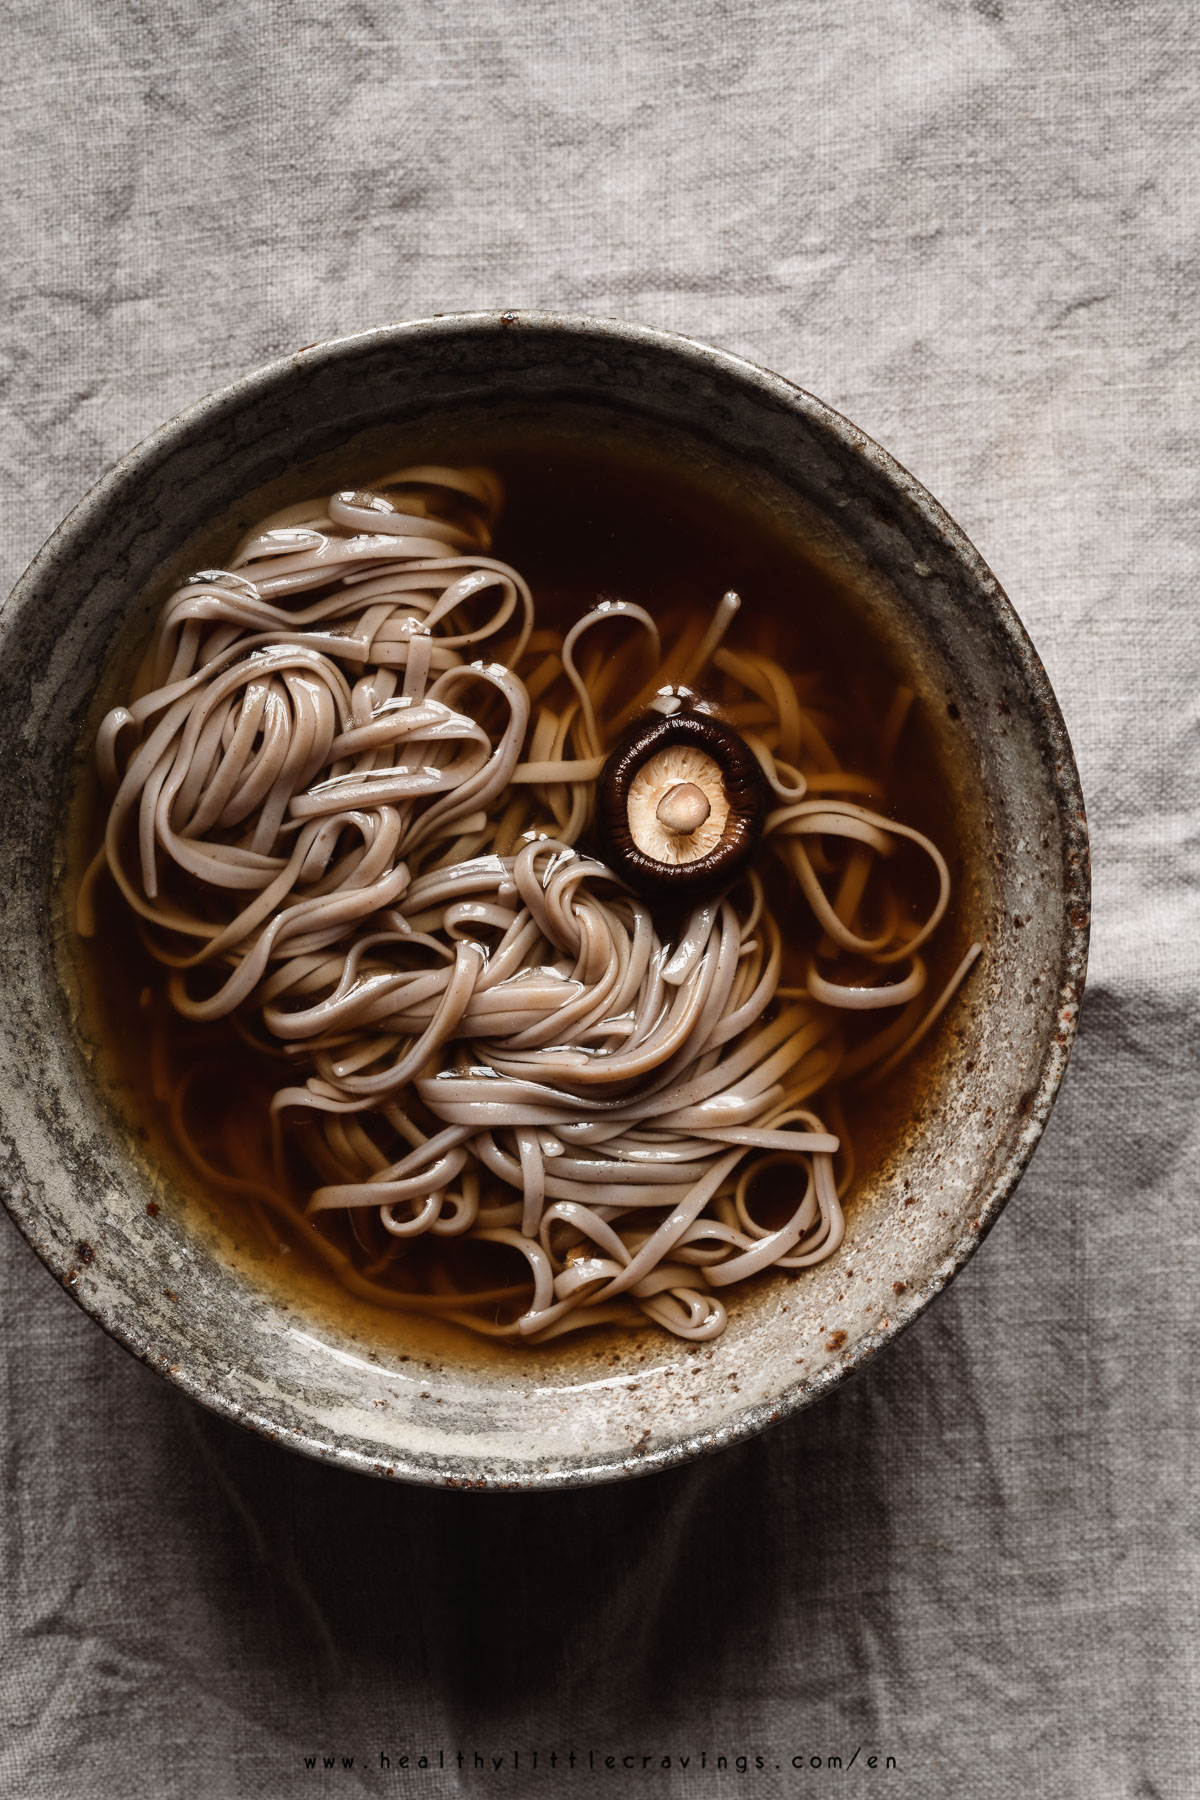
But how can I modify the color of store-bought broth? I use soy sauce/tamari. I gradually add some of it to the bowl (last minute touch-up), then gently whisk with chopsticks. That's what I did in the monochromatic minimal photo above.
Will it be extra salty? Don't worry about that, you can: 1. buy unsalted broth, 2. before eating the soup, just dilute it.
TIP: If using a dark background to create a moodier photo, I like the stock to be a bit dark. If creating a brighter photo, I usually go with a lighter broth.
6. Play with different shapes
Like we said above, noodles soup have "a lot going on". It's a "fairground" for all different kinds of ingredients and their shapes.
So take advantage of them.
Think about mushrooms for example: you have a couple of ways to use them, sliced or whole (for example, I like to turn them upside down;))
Veggies are so fun to play with too. E.g.: if you need carrots in your recipes, why not using them a julienne, or cutting fun shapes like Rachel did here?
Advice: google "vegetable cutting styles";)
7. Play with sensual curves
This is what attracts me the most.
When styling noodles, I LOVE focusing on the shape of the "nests". Those sensual curves!!!
For this reason, my very simple tip is to spend a little bit of time shaping the noodles. Don't be scared of using your hands (I always have very clean hands when styling, I am quite obsessed) to form cute nests!
8. Naturalness is the "secret"
When placing the ingredients, make sure the soup doesn't look too "staged". I like to place objects so they are not just a mass of ingredients.
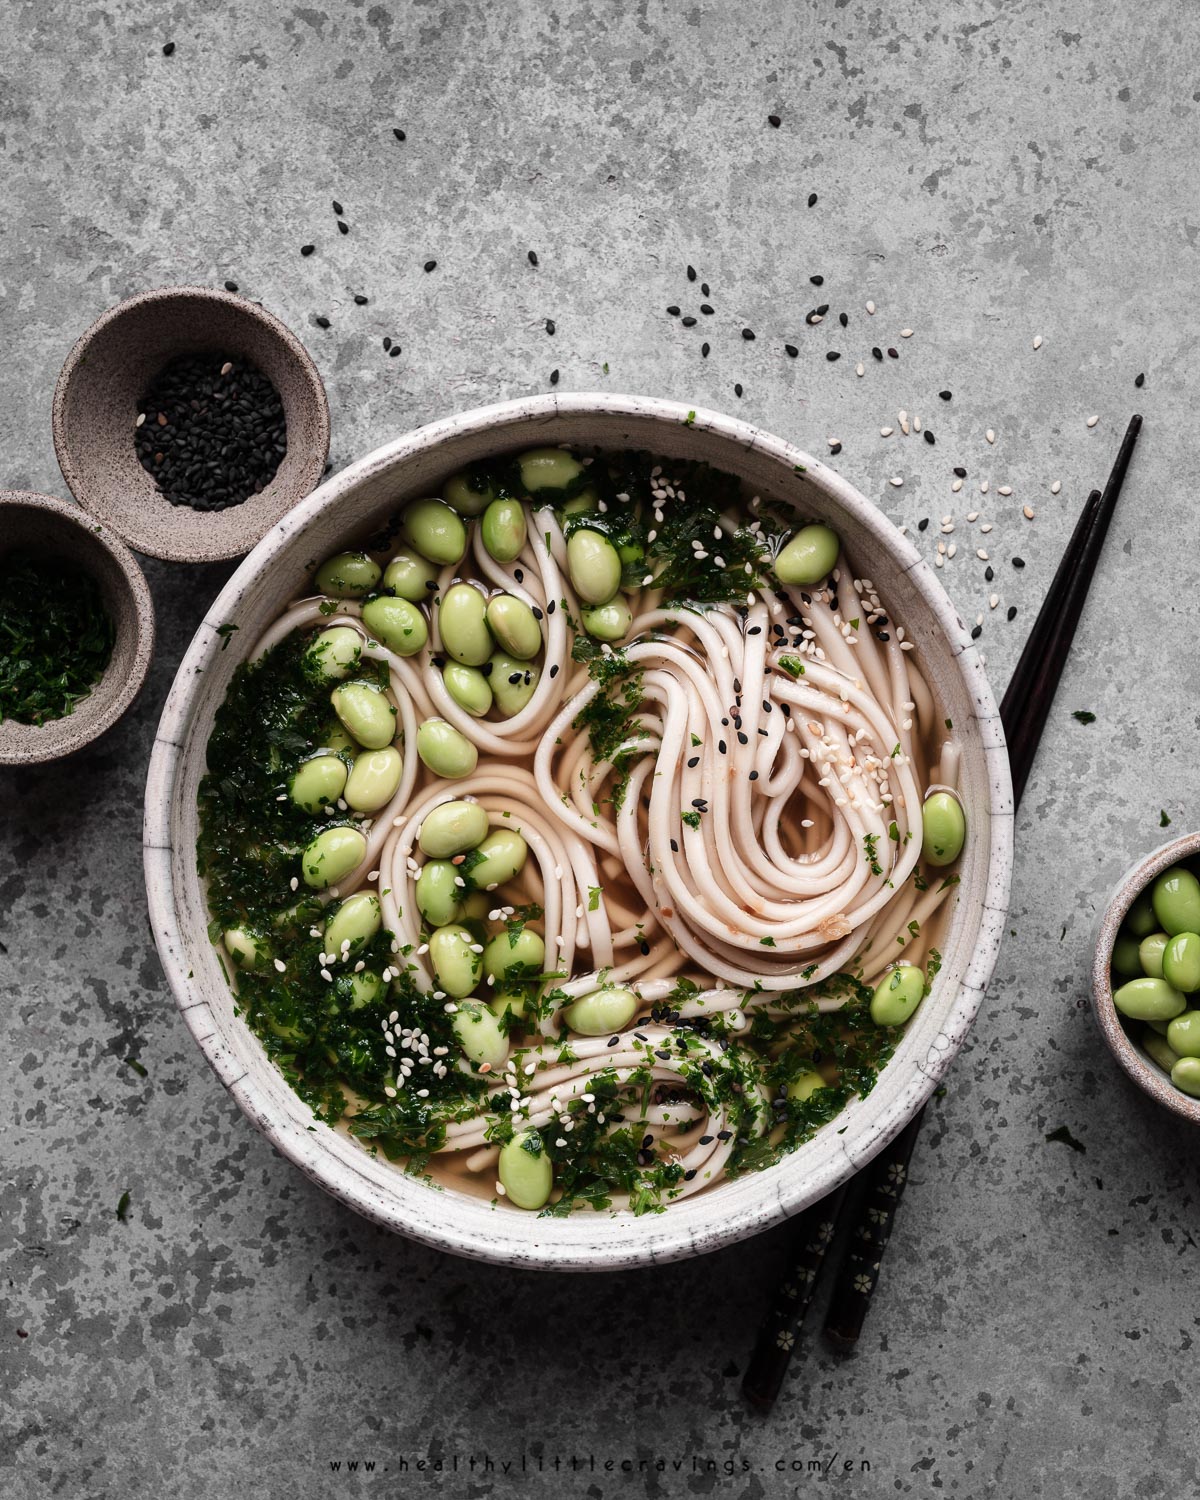
I like to arrange them in "small groups" but then use the same ingredients in other parts of the photo. See the edamame soup above? The beans are not amassed on one area only.
Little mess doesn't hurt, make it look natural!
And remember the concept of harmony (I've mentioned it in the salads food styling tips blog post too - paragraph 3)!
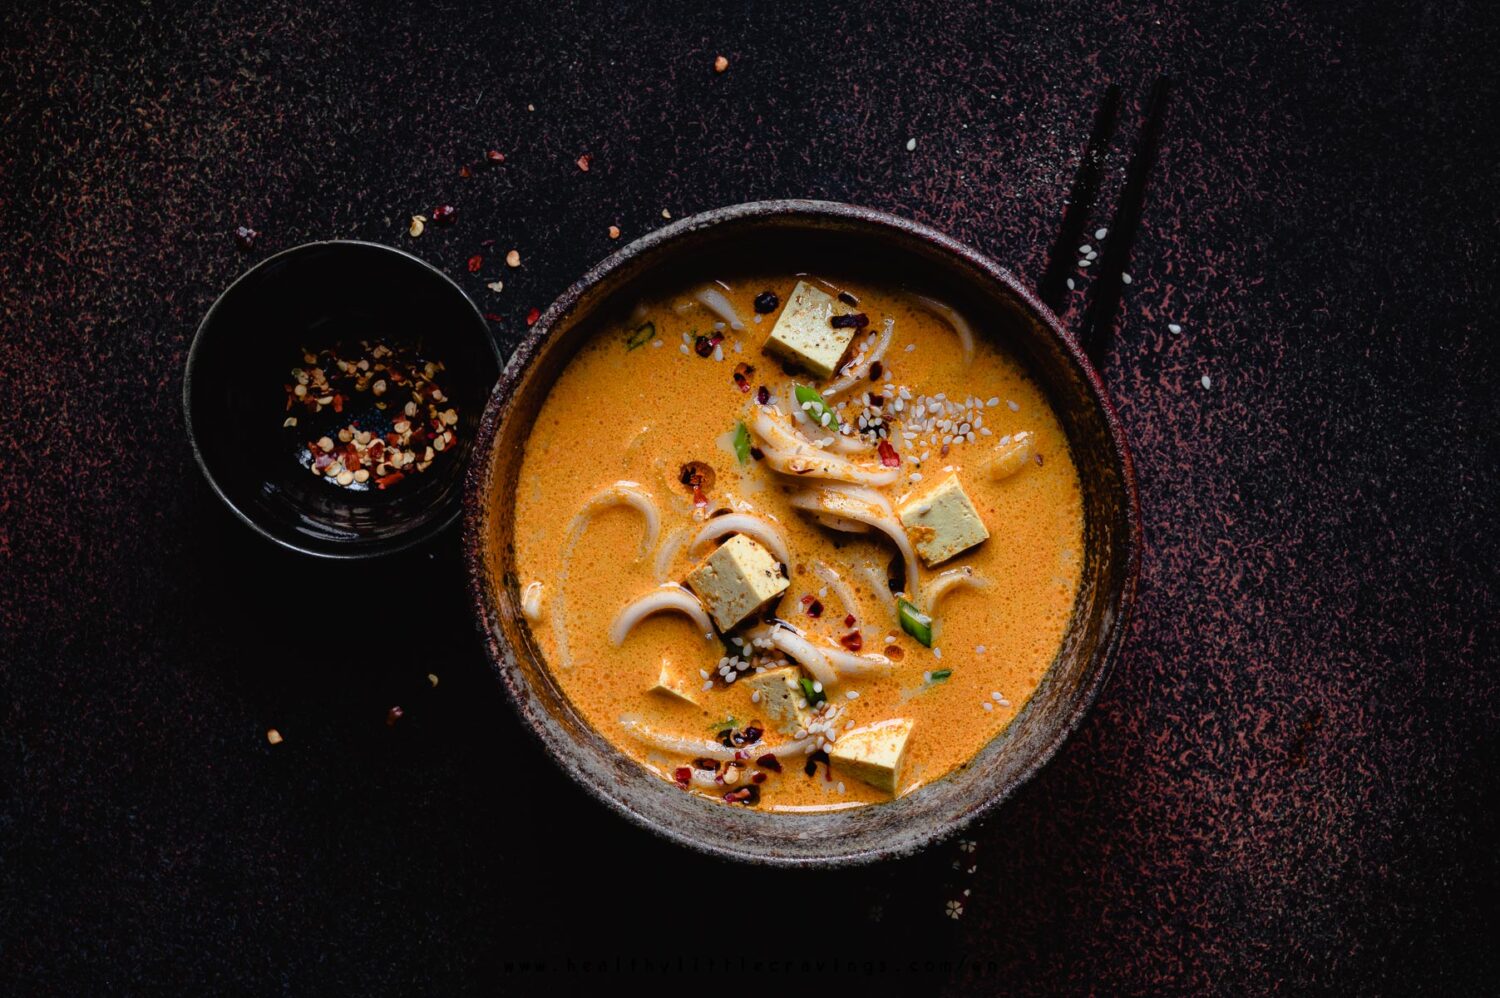
9. Extra ingredients come in handy
Like for salads, buying (and actually using) extra ingredients is key.
The reason is simple and it's related to point 10.
Most of the times the recipe calls for a certain amount of noodles or broth, but you need more to fill the bowl. Solution? Cook more than needed and have extra ingredients to hand (or use a small bowl to rise ingredients up!).
Oh, but sometimes you need less;) see the tofu in the photo above? Recipe called for more than you see.
10. Pay attention to the container
Another recurring tip!!! Always pay attention to the container you're using.
Soups are photographed from the top for most of the times, and even though you can only see the edge of the bowl...well, it matters.
The color, the material, the texture, the size of the bowl/plate. All things you need to take into consideration.
Most of the times I like to use wide and shallow bowls, so I can showcase more ingredients and use less stock.
Also, I usually use more noodles than required (e.g: if recipe calls for 60 grams, I will probably use around 100 grams, just because I want the viewer to see those beautiful nests. BUT, it all depends on the ratio you want. In the orange soup above the focus was the spicy broth ).
11. Editing is your best friend
I'm gonna say it once again, "there's a lot going on".
Reason why editing is your best friend in this case, and it's going to help you mitigate the power of each ingredient.
I hear you saying "speak simply!".
Ok, to keep it simple: when I have a lot of ingredients, I try to balance so the viewer can then give each one of them the right attention and no one is stealing the scene.
If an ingredient is "powerful" per se, then I will try to reduce its power with editing. Sometimes that means making it less saturated, sometimes it means to decrease its brightness.
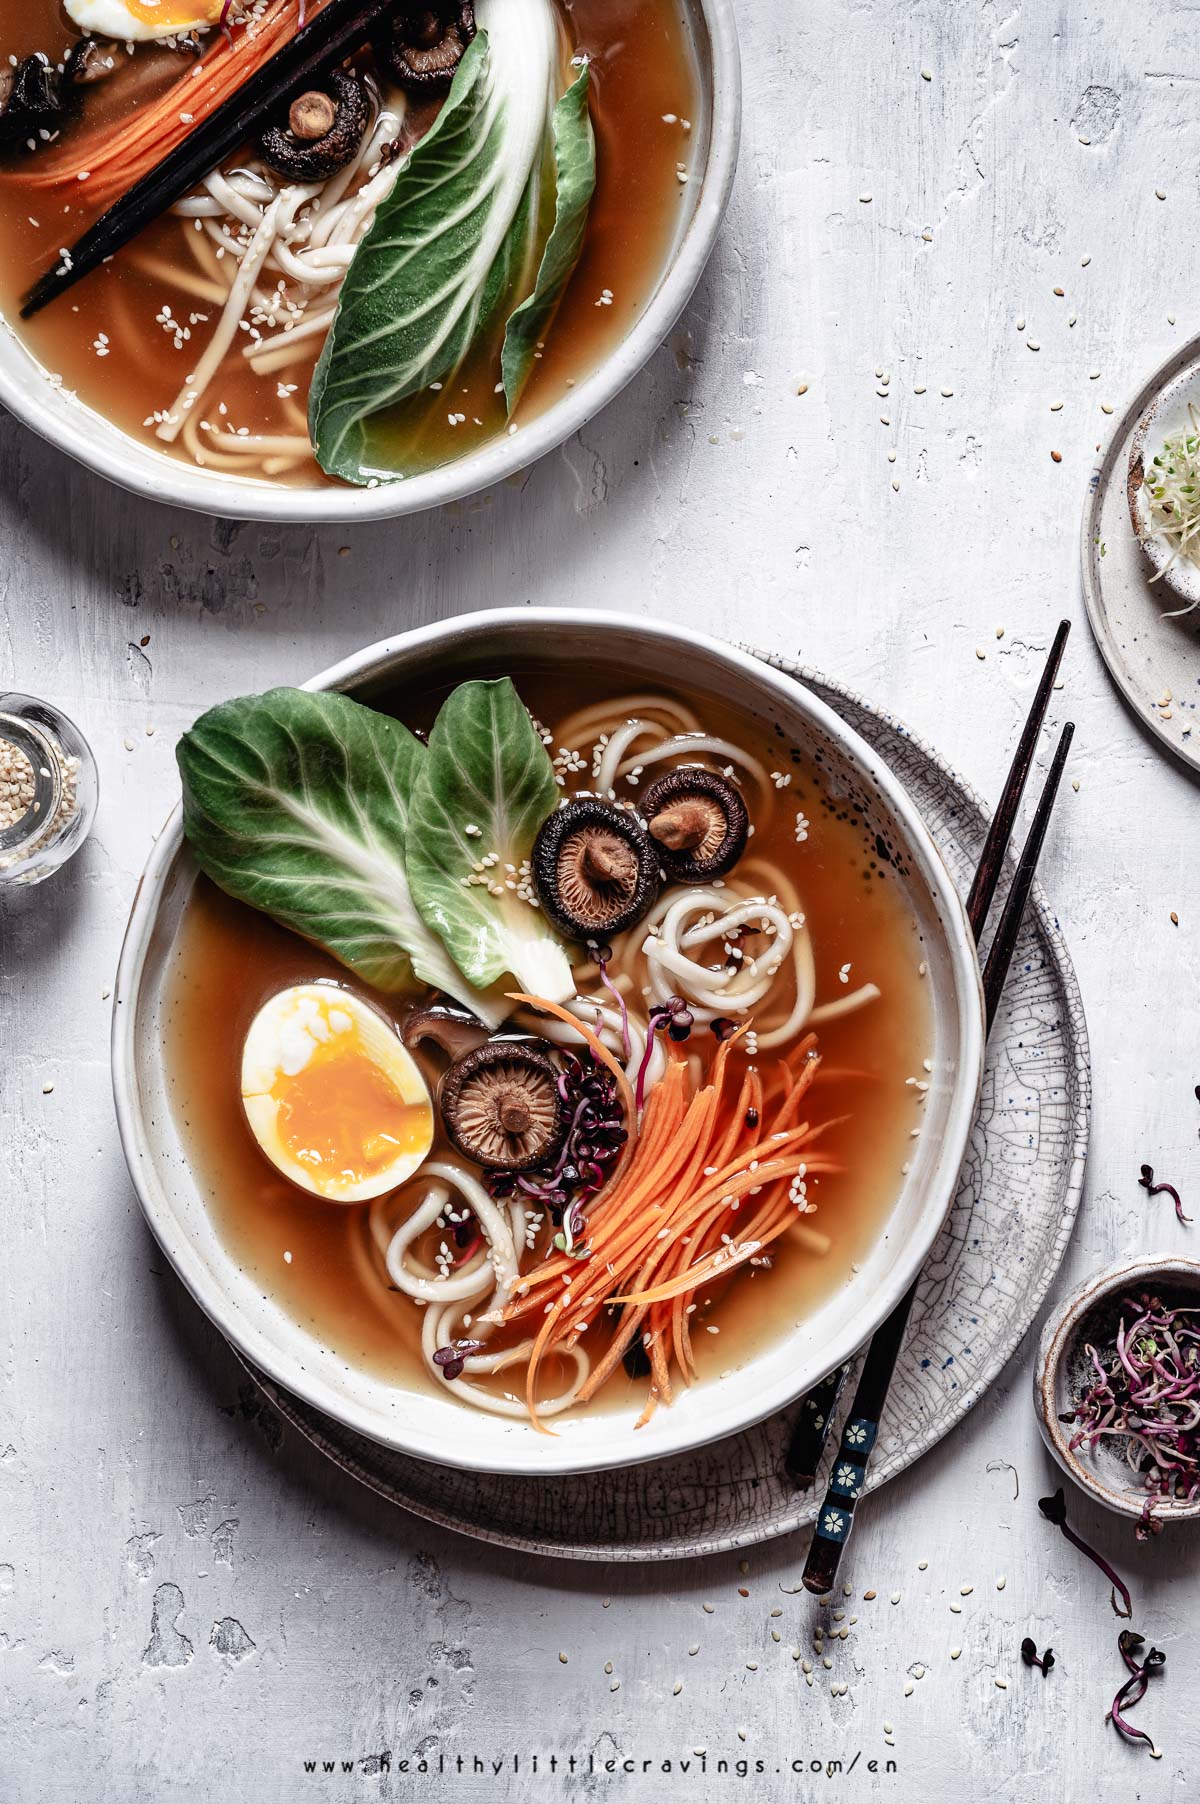
In the photo below, the leaves were big so I reduced the saturation of the green.
Food styling and smart choices
In conclusion let me say that professional food stylists, when ON SET, use all sorts of tools like cosmetic sponges, a spray bottle, small bowls to give volume etc
Sometimes they also use fake food like light or dark corn syrup to give a glowing touch to certain products or to create grill marks, or mashed potatoes instead of ice cream, shaving cream instead of whipped, and so on...
But remember that that is requested by the context (big commercial sets with lots of lights around. Ice cream can't afford to melt, right?;))
Here in my home studio I like to keep it real. It's all food I am going to eat and I don't want to waste it.
But in any case, the important thing is that you take smart decisions. And for that, may the toothpicks, cosmetic sponges and small bowls to rise food up, be welcomed in our home studios too (if they can help)!
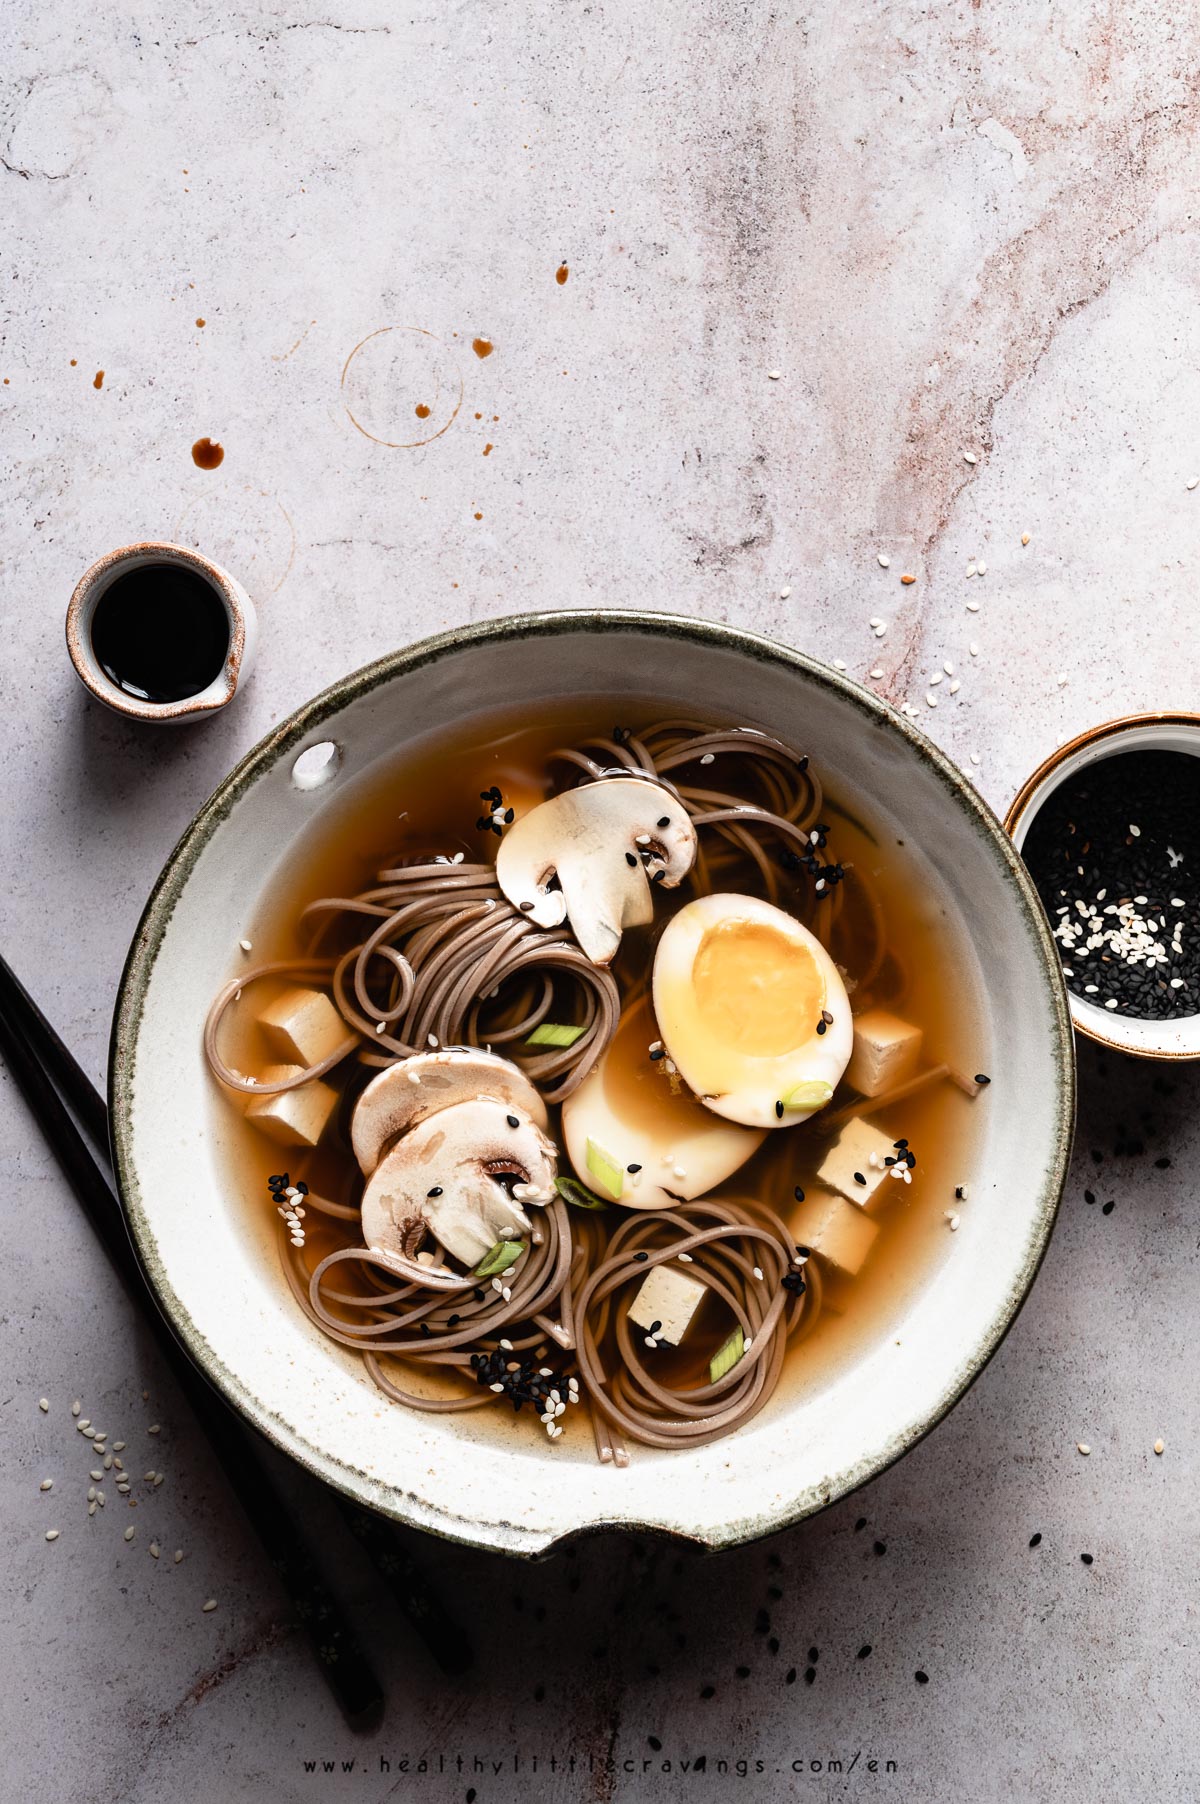
how to style a noodles soup - demo
Here's the short video on how I style this soup. Remember this is the shorter version. Longer one is available for my email list subscribers
If you liked this post, please make sure sure to share it on Instagram! It would make me so happy! 🙂
Remember: if you found one or more of these tips useful, tag me on Instagram or DM me the photos!


Leave a Reply