I don't know if you know it but I am in loooooove with food styling.
As a result, I decided to start this "food styling column" here on the blog (how can we call it?!)
A while ago I asked you, on this photo on my Instagram profile, what you wanted to see me style, what you struggled the most with.
And your answers included meat, stews, soups, fish, curries, muffins, loaves and a lot of other stuff including salads!
So here I am sharing with you a post + short fun video [longer version is available to my email list subscribers - click to join] to show you how to present a salad [photo ready]!
Recap:
- Click to read food styling tips on noodles soup
- And click to read food styling tips on curries

What is food styling?
I am going to start this "column" by talking about the importance of food styling.
It's a SUPER fascinating part of our job.
Actually, food styling is a completely different job. In fact it’s easy to find, on the same set (the small or bigger ones, with art directors etc), a food stylist AND also a food photographer.
So, in theory, it's a different career path.
Photographer is the one who works with light and practically takes the photos, a food stylist instead is the one who makes the food look extra appealing. Of course they cooperate to get the best result.
I personally looooove food styling because, to me, it's like an art, the art of making food look sexyyyy. Plus it's so fun and it's a chance to be creative.
Here's a very "general" tip for you:
Whenever you will feel confused about what you have to do when styling whichever food is in front of you, ask yourself:
“if this was my meal/drink right now, how could it be more appetizing/appealing from a visual perspective? Would I eat/drink it?"
Follow these advice and... trust your eyes 👀
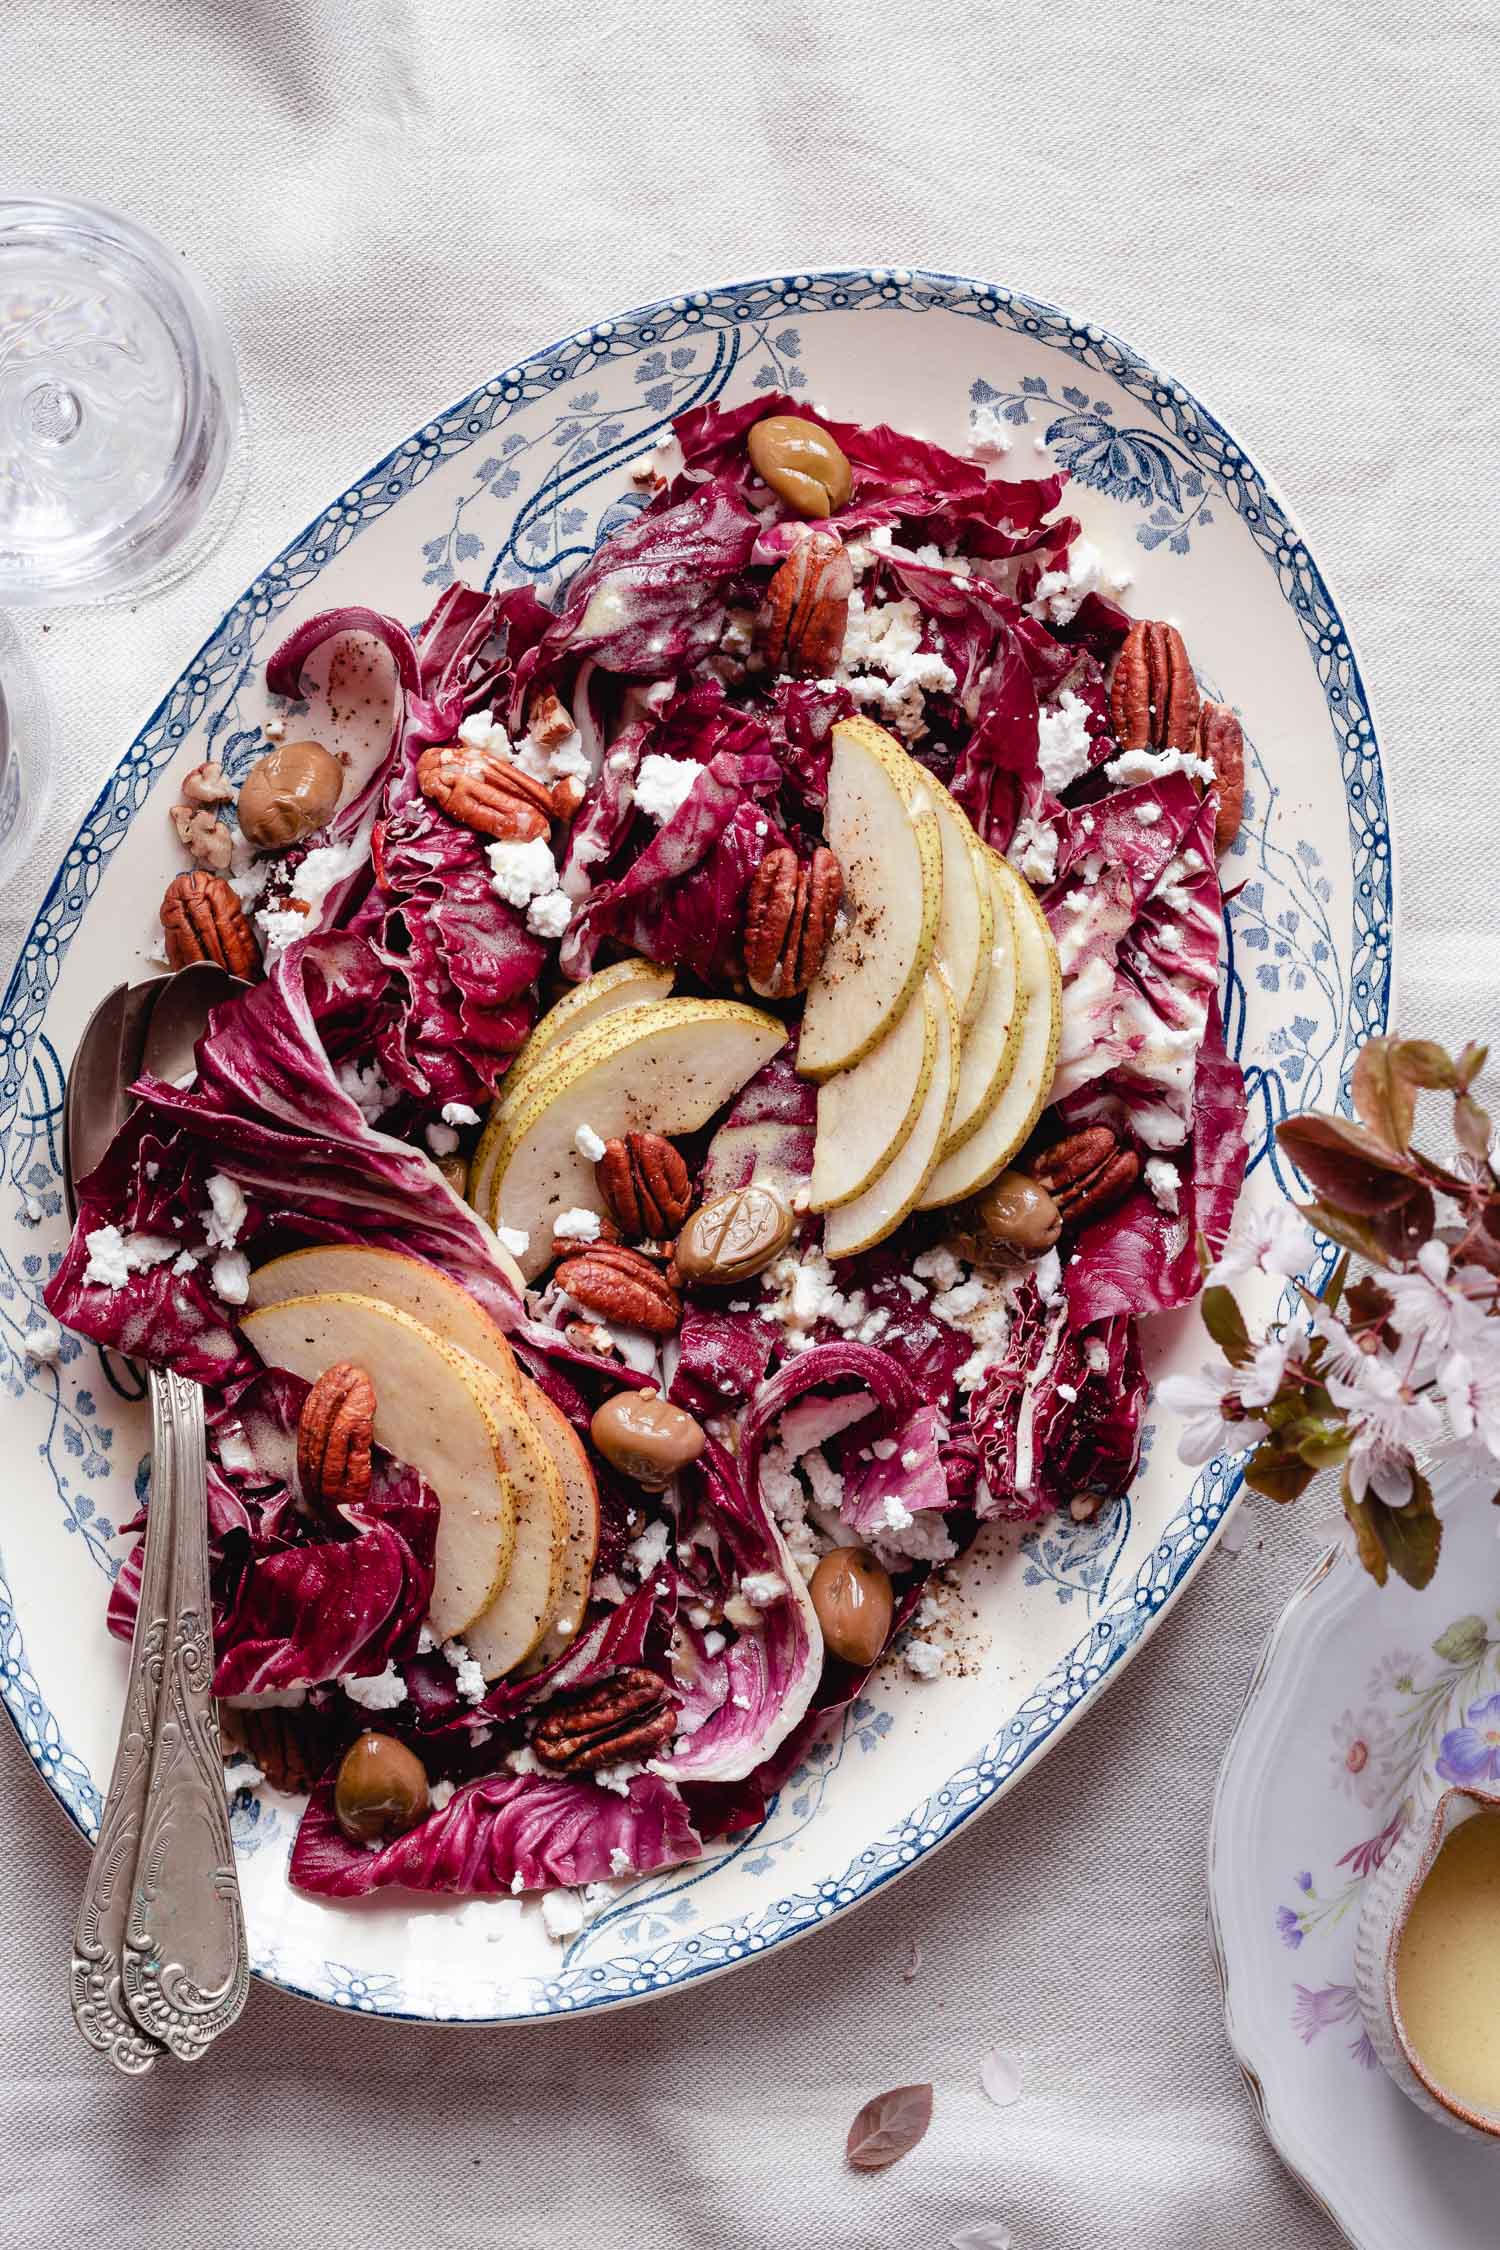
Top tips on food styling salad like a pro
Without further ado, let's talk about today's topic.
The following are my top tips for food styling salad or, at least, the ones I've learned throughout the years working as a food photographer + stylist.
They're quite a bit, so read carefully each one of them and from now on try to incorporate at least one at a time.
1. Pay attention to color palette
This is probably the first thing I do (always). I think about the color palette I am going to use.
If you're a blogger, or recipe developer, your tendency - obviously - is to think about what you recipe is going to contain and THEN you will adapt the rest.
When you style food you almost have to do the opposite: think about the styling and THEN adapt the recipe.
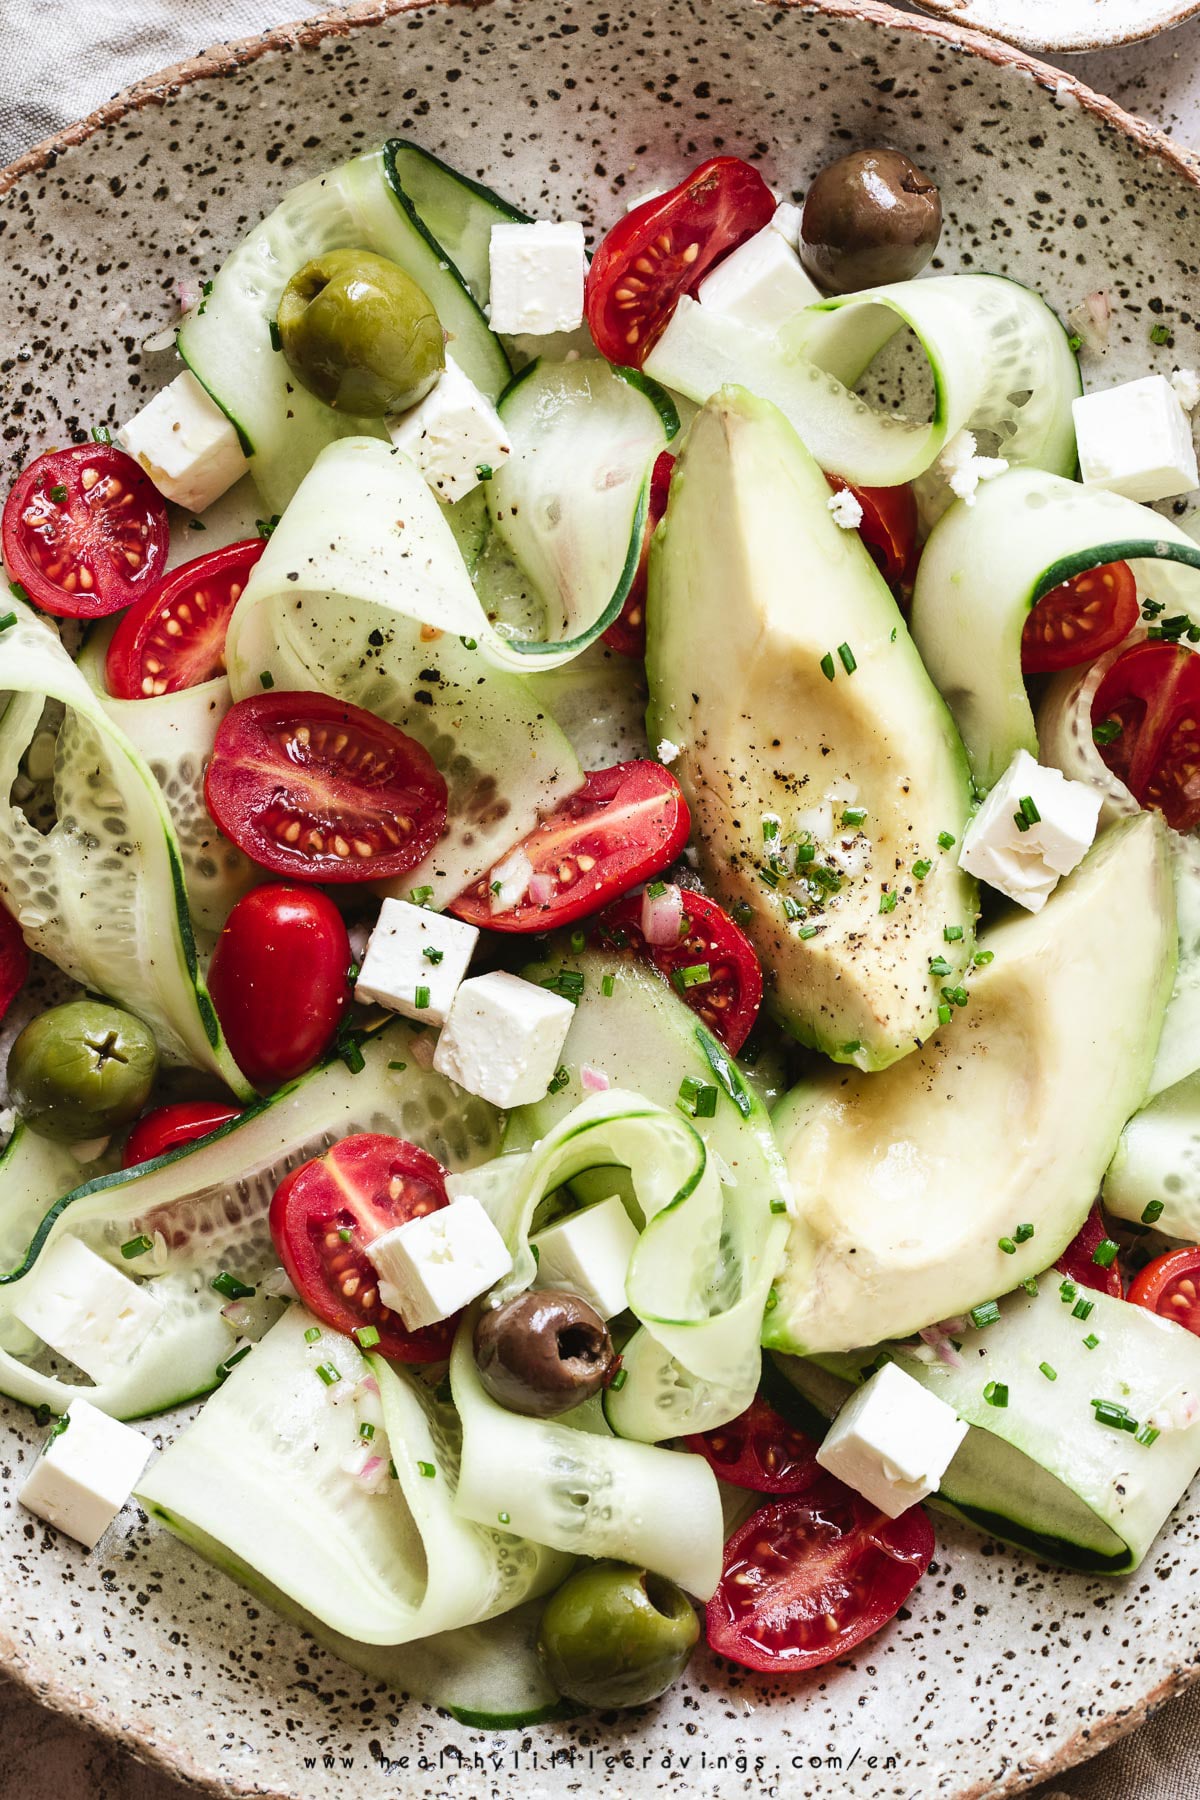
Take this photo for example: I had to develop a refreshing salad recipe for the blog.
I thought "Cucumber avocado salad sounds good but what can I do to add a touch of contrast?"
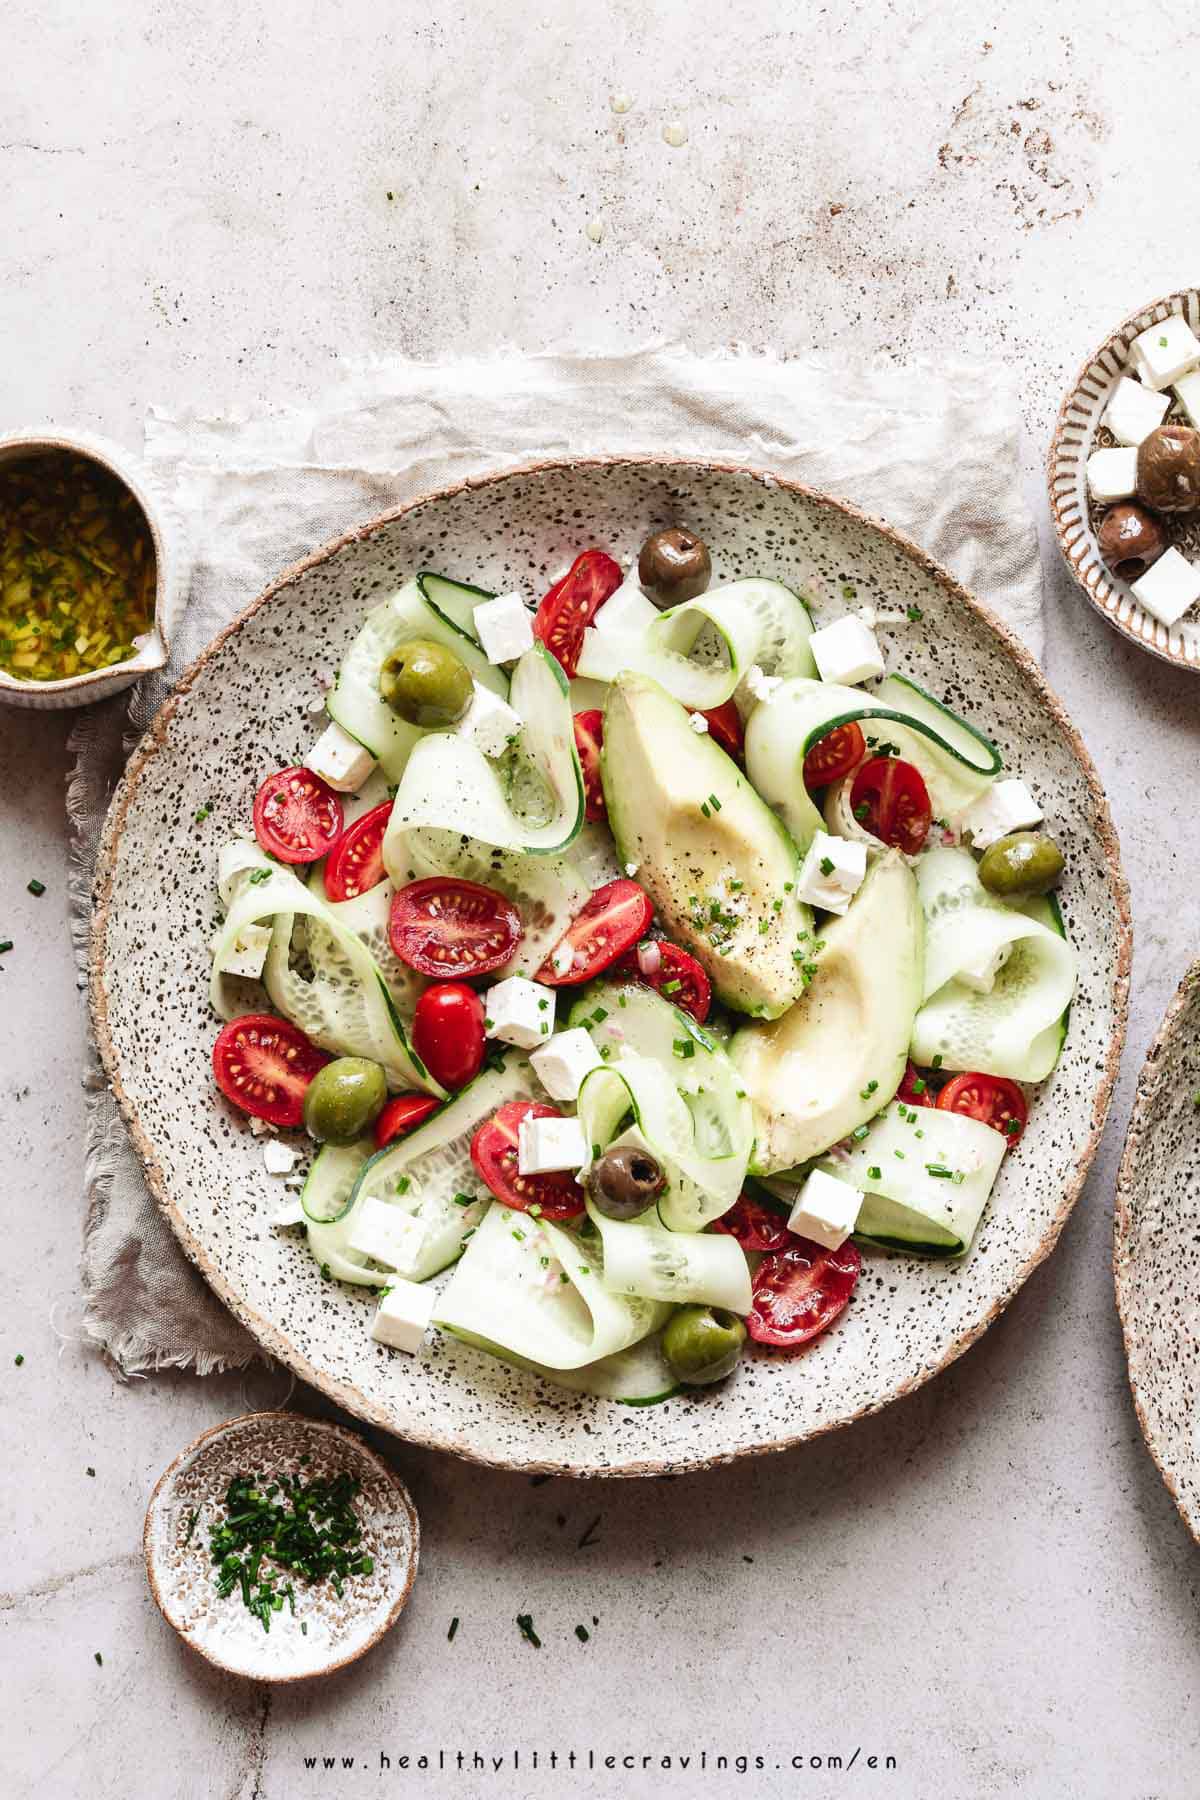
Beautiful red cherry tomatoes of course. Because we know red and green are complementary colors.
There's more than complementary though: consult the color harmonies here and have fun.
What if you can't adapt the recipe - in terms of type of ingredients - to food styling? Then read tip number 2.
PRO TIP
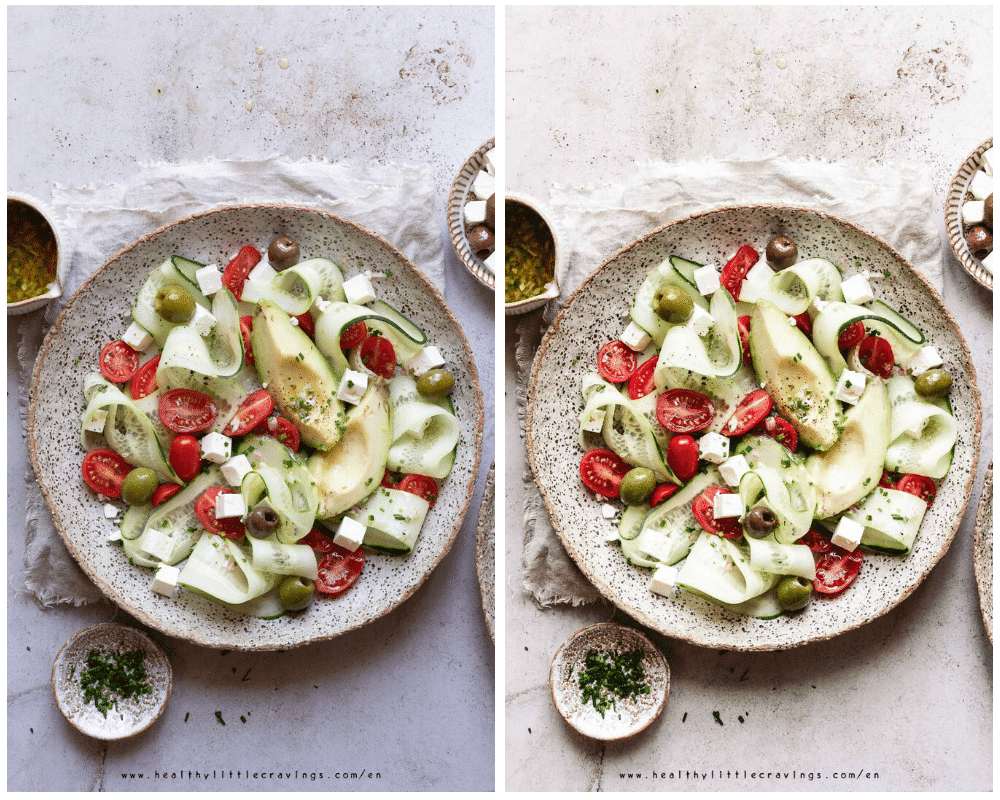
You will hear me talking about the concept of "harmonizing colors" a lot.
In the salad photo, cucumber and avocado were different in terms of warmth/coolness.
Avocado is yellow-ish. Cucumber is a cool, very pale green.
So I "harmonized" them in Lightroom, by desaturating the yellow and changing its hue (I made it cooler). This way, cucumber and avocado "blend together".
2. Use different ratios
In case a client comes to you with a recipe and you cannot omit or change ingredients, then there's another solution: adapt quantity.
Using different ratios compared to the original recipe is something I always do. Sometimes indeed I style a plate not paying attention to how much I use.
The goal is to make it look balanced. This leads me to tip number 3.
3. Balance and harmony
When composing your plate...seek balance!
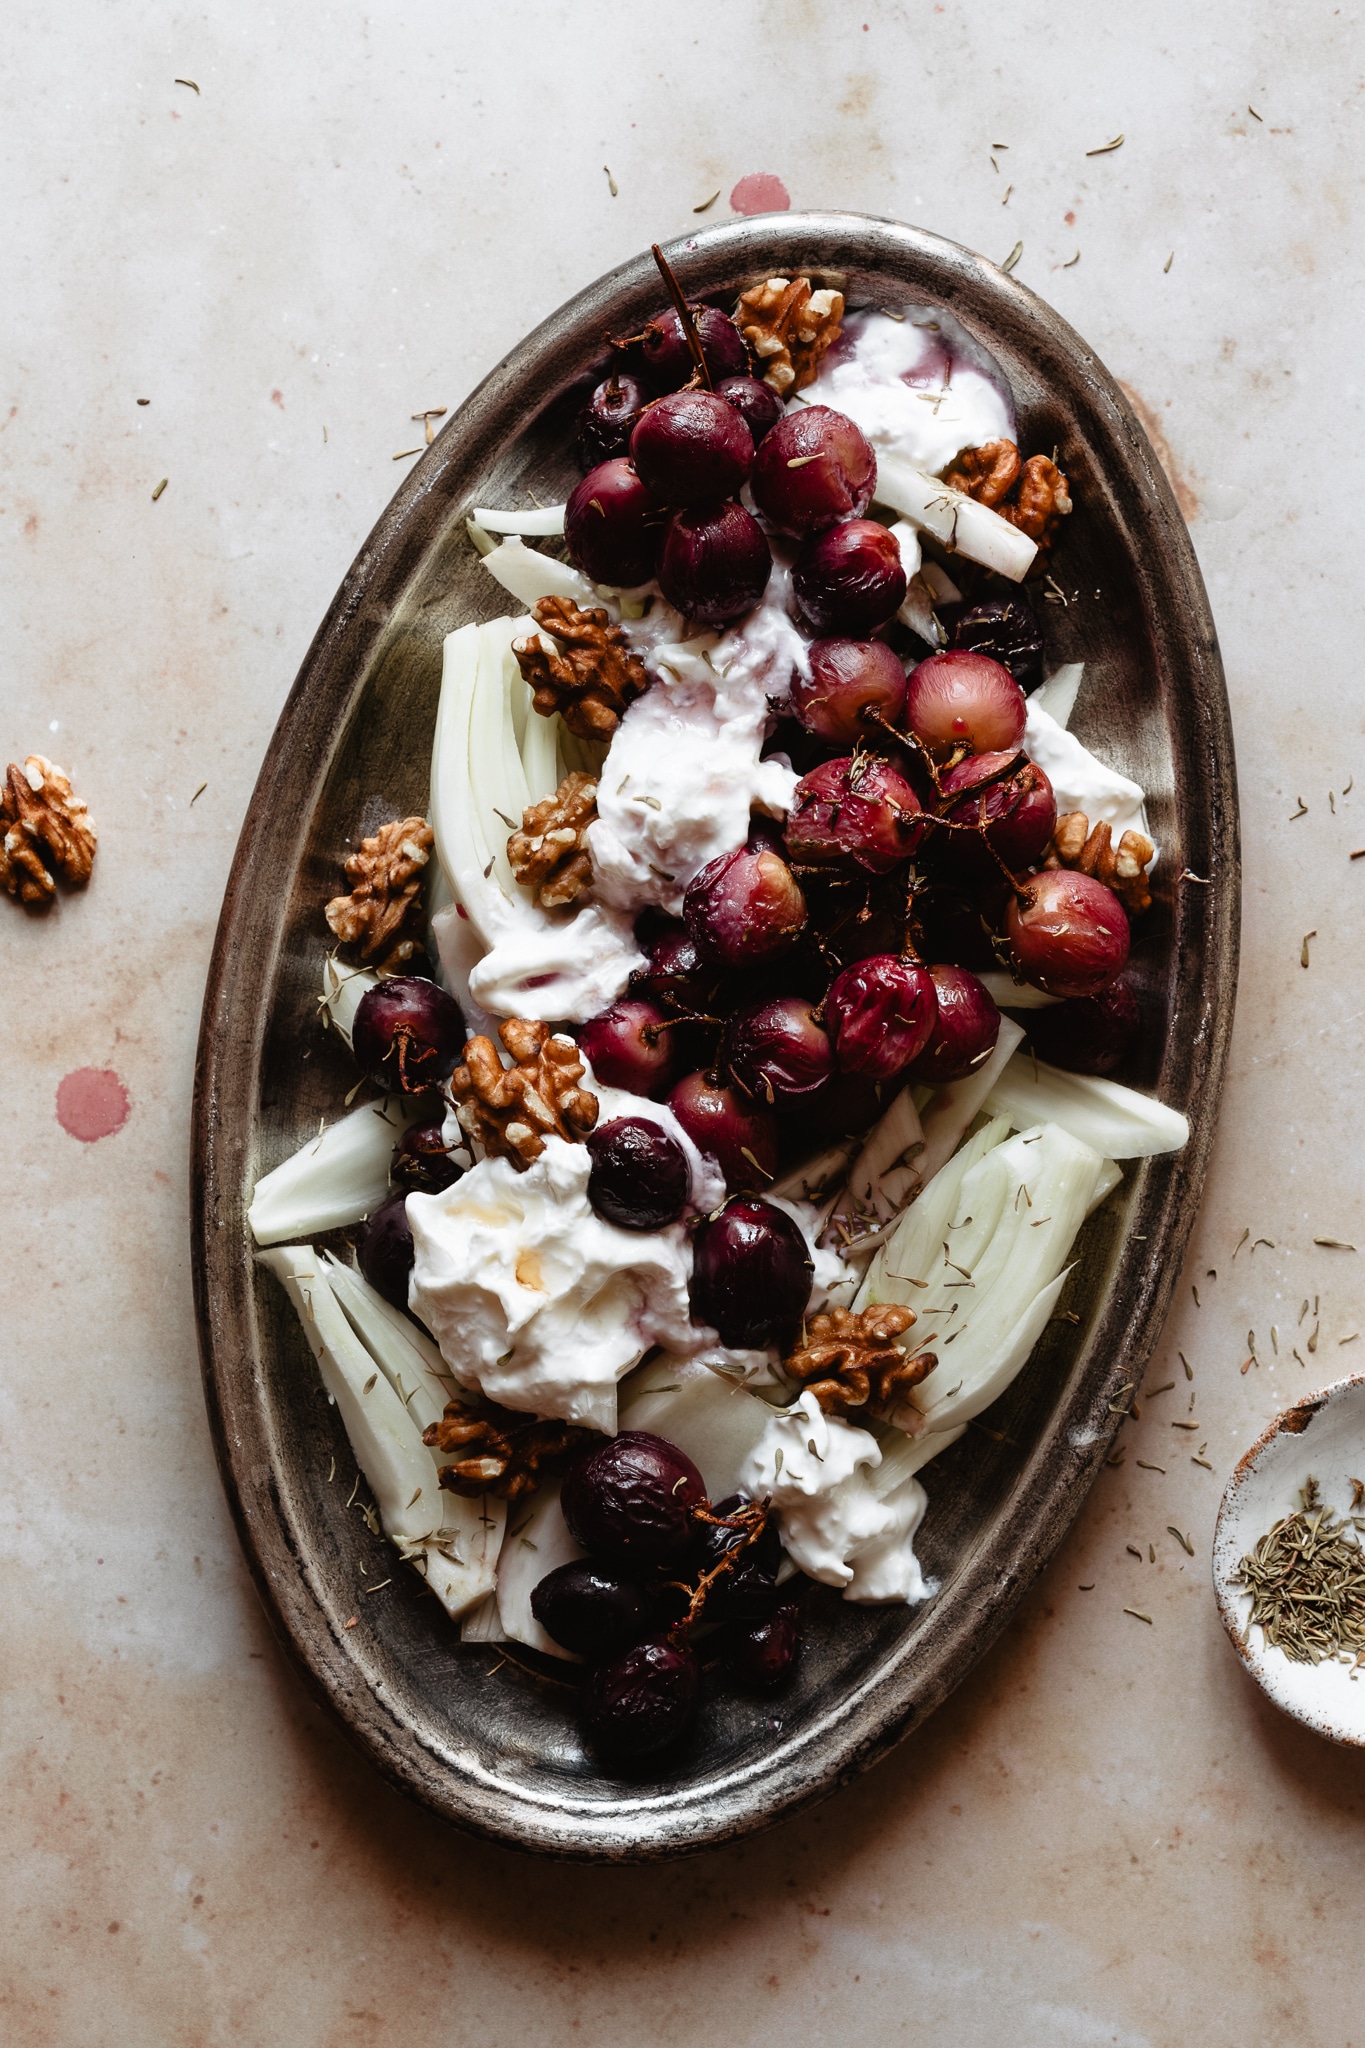
In this case, I had a bunch of grapes on the upper/middle right side, so I placed a bigger piece of burrata on the lower left side of the plate, just to balance the heaviness.
This works with different types of food, not only salads.
I try to avoid concentrating too much on just a specific area.
And because we talked about composing...
4. Use composition principles
What is food styling if not...composing on a plate?
When I style, indeed, I like to apply composition principles such as use of texture, shapes, lines, curves...
What does that mean practically?
That I literally place elements in sinuous curves (this is the tool I use the most - also when styling noodles soups).
Or I use lines to point at the most important part of the salad.
And also...
5. Play with shapes
Another tool that I use very often, especially when styling salad, is playing with different shapes to create visual interest.
On the cucumber salad photo, again, notice how I cut my avocado in quarters instead of halves (oh but those are ok too), just to make it look smaller.
I sliced my tomatoes both horizontally and vertically to create different shapes and a bit of movement.
What about those cute cucumber ribbons? Very "sensual" and aesthetically pleasing.
The feta? I decided to cube it instead of crumbling it.
The olives? You can cut them in half, or leave them as they are (with no pit).
Finally I paid attention to how I minced the shallot for my vinaigrette (no one wants big pieces into their mouths
6.Showcase texture, play with light
Oh, I love texture.
Playing with different textures is something that can also create visual interest (and also stimulate our viewers' taste buds).
Choose ingredients wisely. I love having combining different textures with the smoothness of veggies, like the hardness of seeds/nuts, creaminess from a cheese, crunchiness of croutons etc
Now on the practical side: how to showcase texture? By skilfully playing with the right light (soft or hard? Side or back? Artificial or natural light?;) Try them!)
7. Keep the rest simple
I just told you to play with texture and technically a salad is already a combination of different consistencies (except if you eat plain lettuce).
What I usually avoid doing though is having too much texture on the rest of my scene.
Look, there's already SO MUCH going on on our plates. Why should we add even more? The risk, in my opinion, is to create "mess".
So keep props and backdrops simple.
You could say "Then why did you use a textured plate on the cucumber feta salad photo?". Look closer: cucumber, avocado, tomatoes, feta are all soft, smooth. The contrast comes from black pepper and my plate. (all about balance!)
8. Use the right container
Like we said at the beginning, you have to adapt the recipe to the styling. That sometimes means that if you'd normally use a deep giant bowl to serve the salad in real life, maybe you'll need to choose a flat plate for the styling instead.
In this photo I've used a deep-ish bowl, even though it doesn't look like that. Consequently I had to adapt the quantities (looks like salad for one but it's actually for two).
In general it's better to choose a shallow container, or small bowls, so you don't have to use a crazy amount of food.
That leads me to another important tip.
9. Volume, baby!!!
Use something to give volume to your salad. That is especially important if you photograph it using a 30°-45° angle.
My strategy is to use the “worst looking” pieces of veggies underneath (remember to pick a few pieces to place on the surface when putting finishing touches). You can also use another bowl or some tinfoil/parchment paper, different techniques same result (watch this reel on my IG profile!)
This is connected to the next 2 tips!!!
10. Choose la crème de la crème
For your food photos, always choose the best ingredients, la crème de la crème! That means, for example, that if you need some herbs, it's better if you buy plants instead of those in plastic containers. Hey, we want our food to look appealing not sad. So choose the best leaves 🍃
In case store-bought (in plastic) is your only choice, then read tip 11.
11. Buy more than needed
This is when planning comes in handy. So on the day of the shoot you're prepared.
Always make sure to buy extra food in case you need to choose the best looking ingredients!
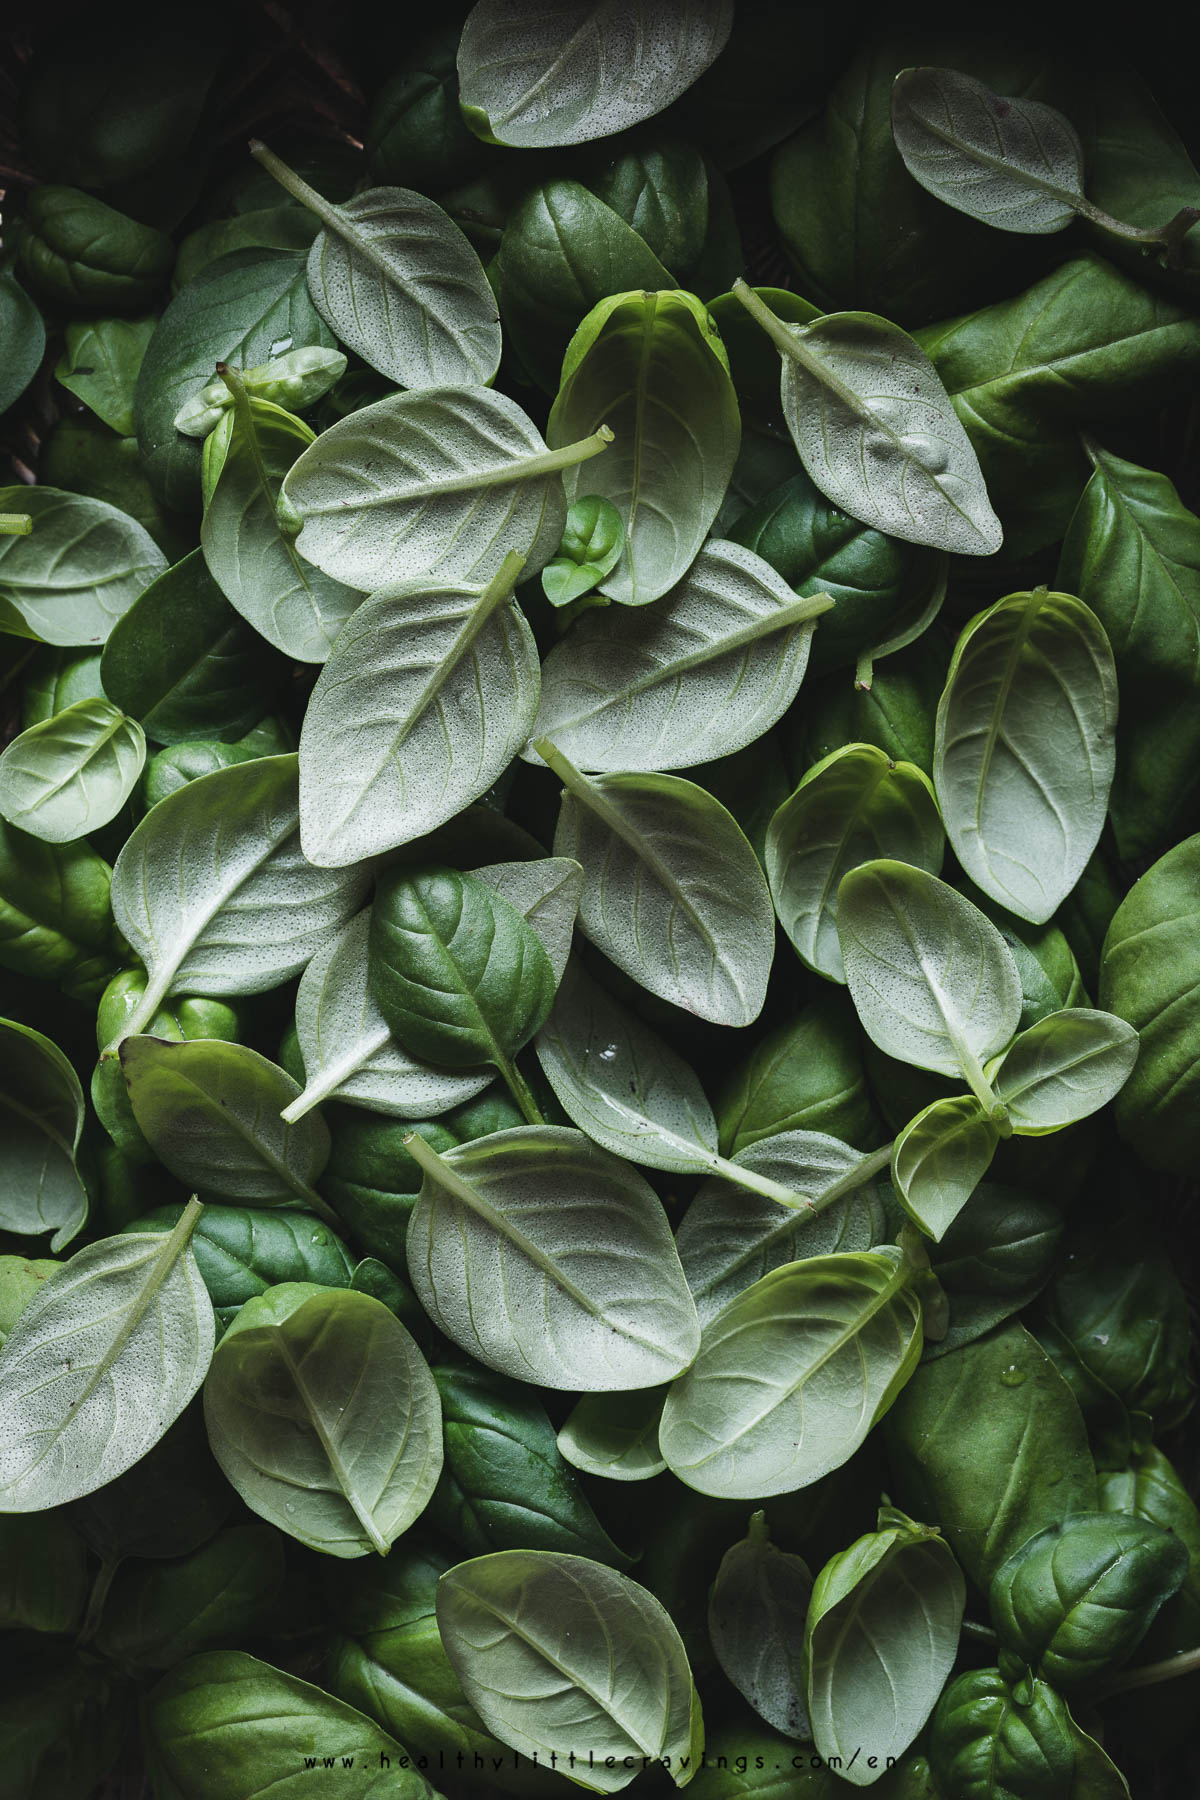
The following is not a salad but I like to use it as an example: I wanted a macro photo of basil leaves and to get the best ones I bought 3-4 little plants. This is the final shot.
12. "Deconstruct"
Same old story: adapt for the job. I know we normally throw everything into a bowl and toss, but avoid doing that when food styling.
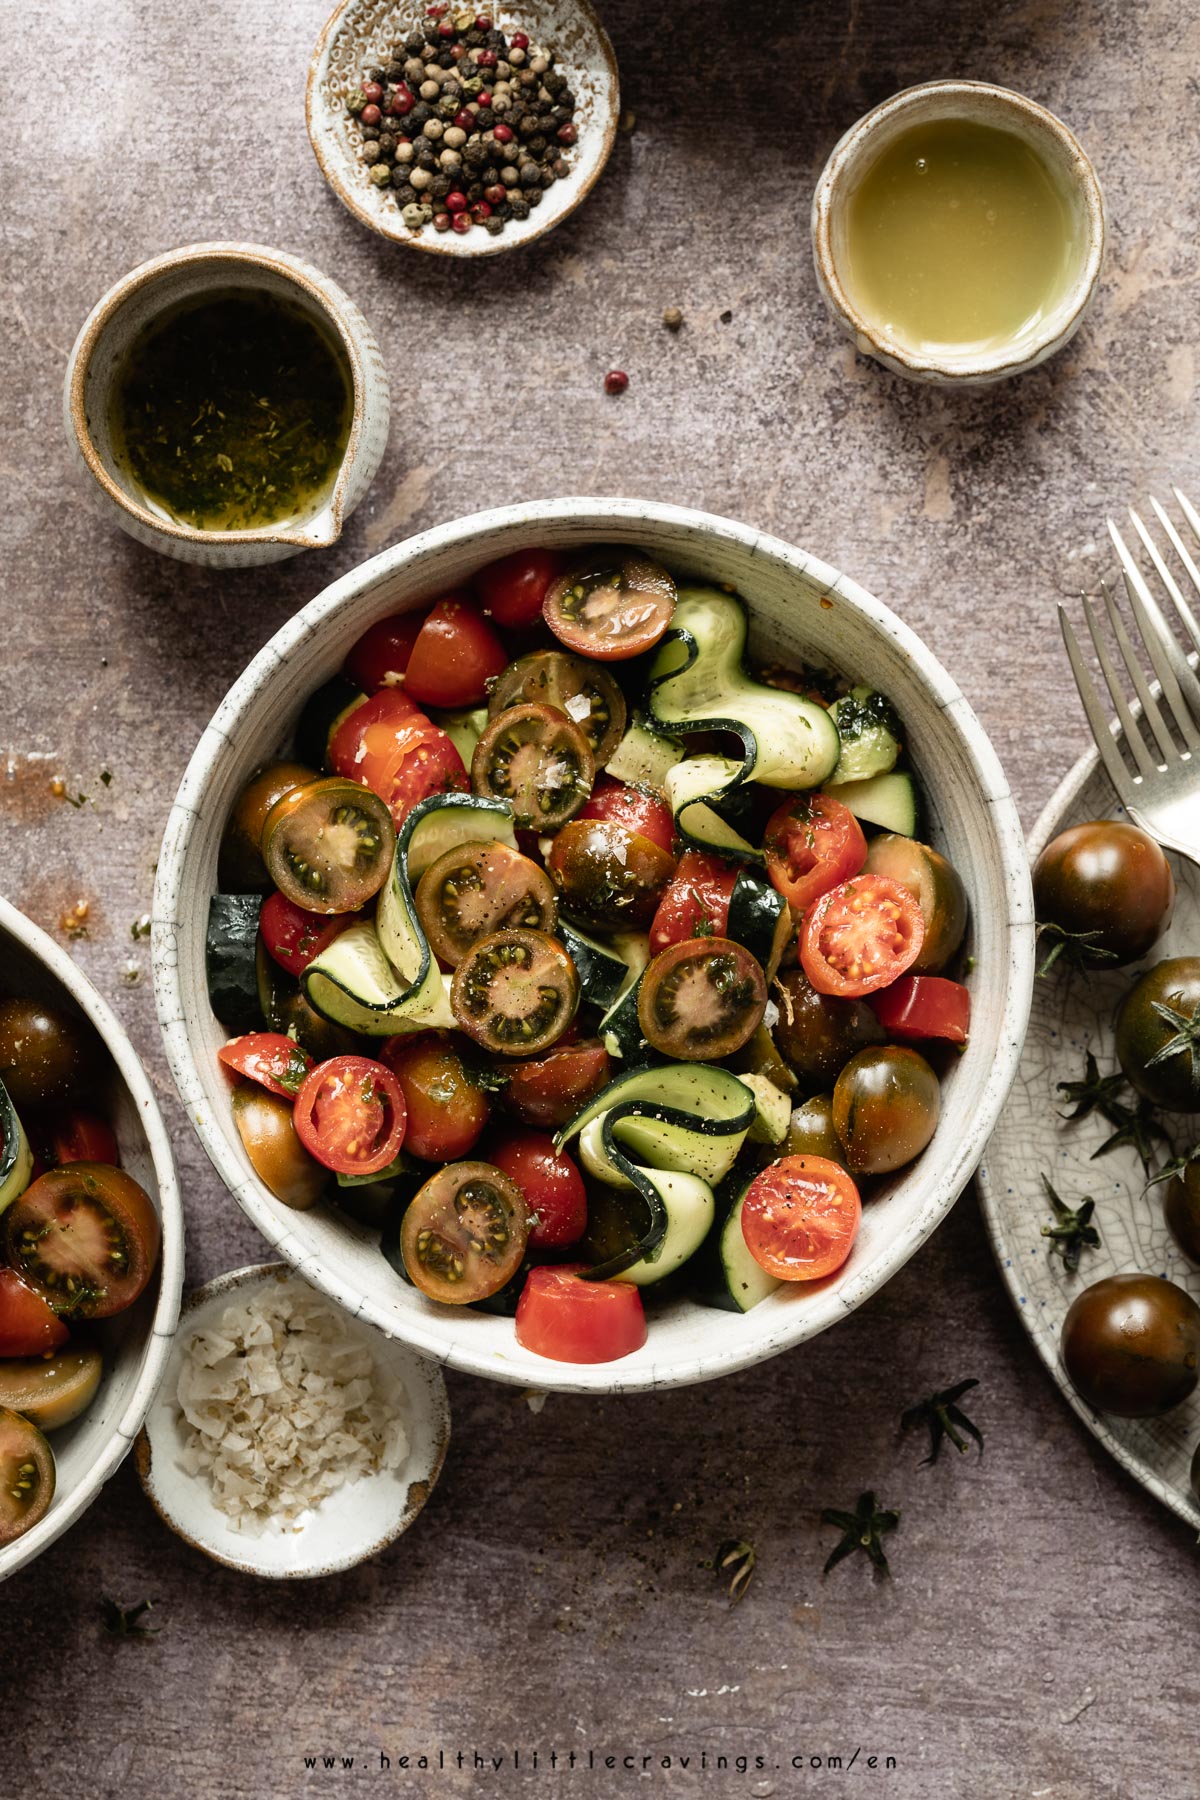
Or better, you can do that IF you're going to set aside the best ingredients and add them to the end. That's what I did in the tomato salad above (the one with the brownish backdrop). Basically only if you use it to give volume underneath;)
13. Make ingredients recognizable
There's nothing more frustrating for the viewer than not knowing what he/she's looking at.
Is your salad a tomato, cucumber, feta, avocado, olive salad? (the one above)
Then display those ingredients to give the viewer a hint.
14. Season at the end
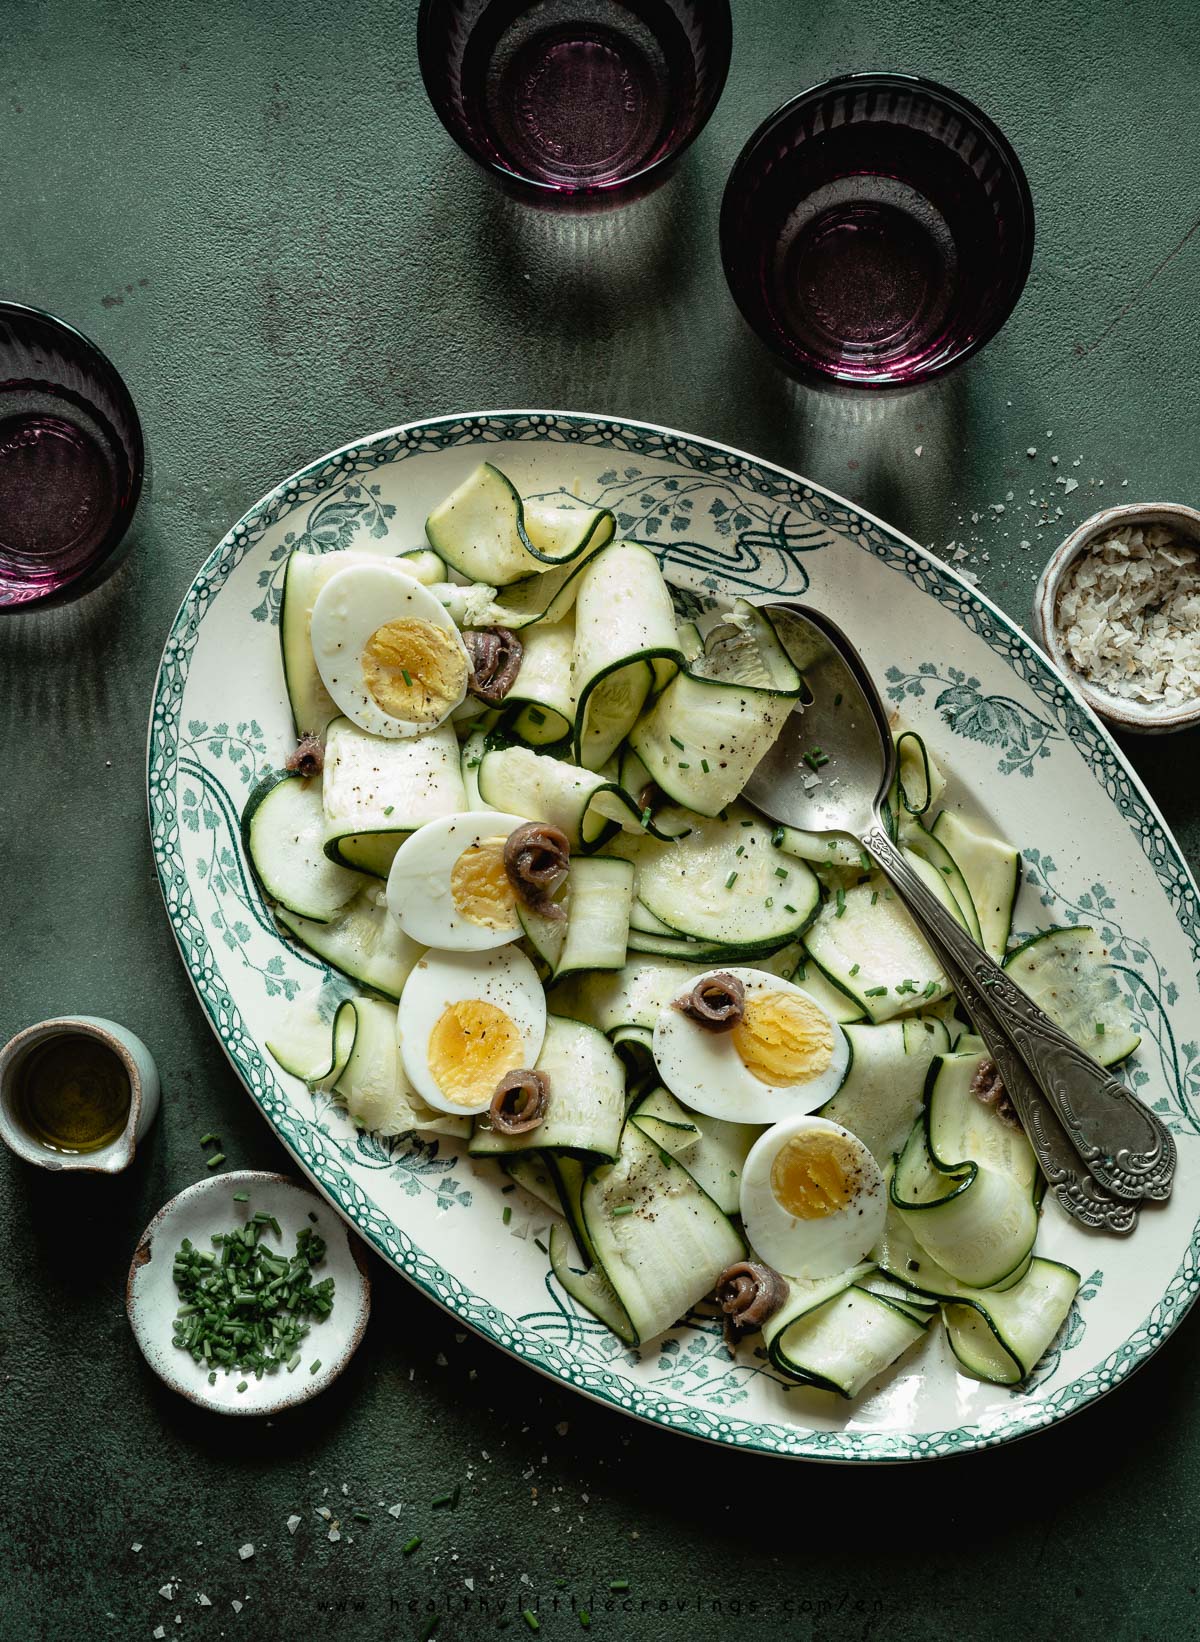
The concept is simple: oil is heavy. So if you season the salad at the beginning of the photo shoot, it's going to collapse.
Instead drizzle a little bit when you're ready to shoot!
15. Make it GLOW!!!
My strategy is to use dressing on "interesting" areas of the photo, where I want the viewer to focus on.
I also keep mini spray bottles near my set so I can spray and have nice droplets when I need.
This is usually my ultimate tip: always make your food glow and your images will glow too.
How to style a salad - DEMO
Here's the short video on how I style this salad. Remember this is the shorter version. Longer one is available for my email list subscribers (this list)
No I didn't go to culinary school or studied culinary arts, no I don't have a degree. I haven’t learned all this on books.
Instead, throughout the years, I did a lot of “research”, and what really helped me was to look at what professional food stylists did (especially in digital/printed magazines!)
Next step for you? Practice practice!
If you liked this post, please make sure sure to share it on Instagram! It would make me so happy! 🙂
Remember: if you found one or more of these tips useful, tag me on Instagram or DM me the photos!


Leave a Reply