
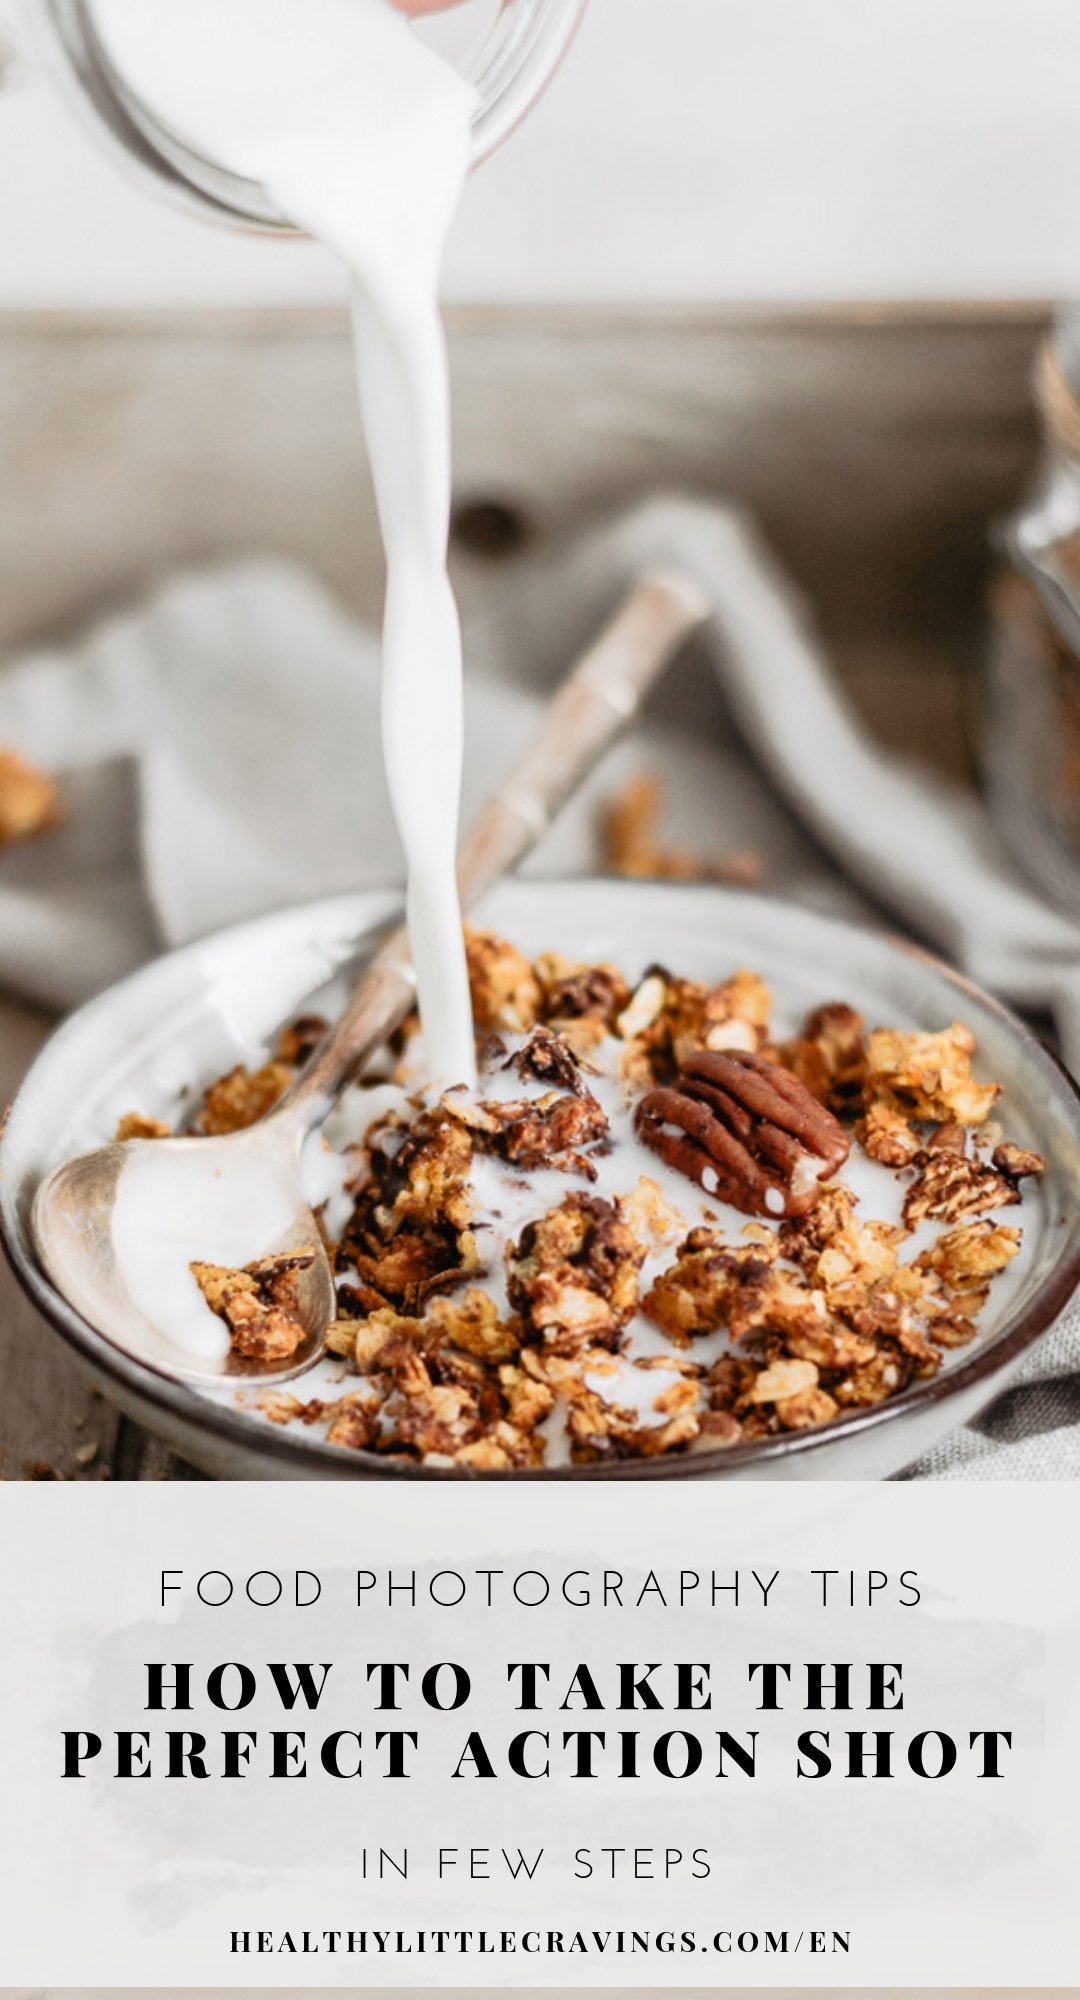
You've always wanted to be able to capture the perfect action shot and wondered how to take it, am I right? Well, friend, you're lucky: you're in the right place at the right moment (and perfect timing for me as well, uh?). My goal today? To teach you how to take an action shot (be it dusting, sprinkling, drizzling, pouring...) in a few steps. Because it’s not impossible, oh no no!
Want to be sure to do your best? Read this post twice! You won’t' regret. And practice practice practice. You're a photographer, that’s the best present you can give yourself.
Also, don’t be scared to make mistakes!
A couple of photography tips for beginners…
I’ll start by telling you that…oh gosh, I’m a stubborn girl!
I decided I wanted to be able to capture movement a couple of years ago – basically when I just picked up my camera for the first time. Yeah, nice one, uh?
Plus, since I love make things complicated, I not only wanted to learn it quickly, but I absolutely wanted to capture...flour! While clapping my hands! Cherry on top? I had NO IDEA what aperture, ISO and shutter speed were. Cherry on top of the cherry on top? I needed that shot to place it inside my recipe ebook. And the launch date was after a week or so.
If you're wondering what I did...
Well, first I began to despair because I didn't know what to do (and how). Secondly, I asked my boyfriend to teach me (problem: he lived in another city, and teaching with no examples was difficult). Then, I started googling and tried to copy the settings of other people. Wrong move!
Yes, I ended up with a nice shot (I liked that at the time), but after taking hundreds of photos, not kidding. And, honestly, I feel like it was just a stroke of luck.
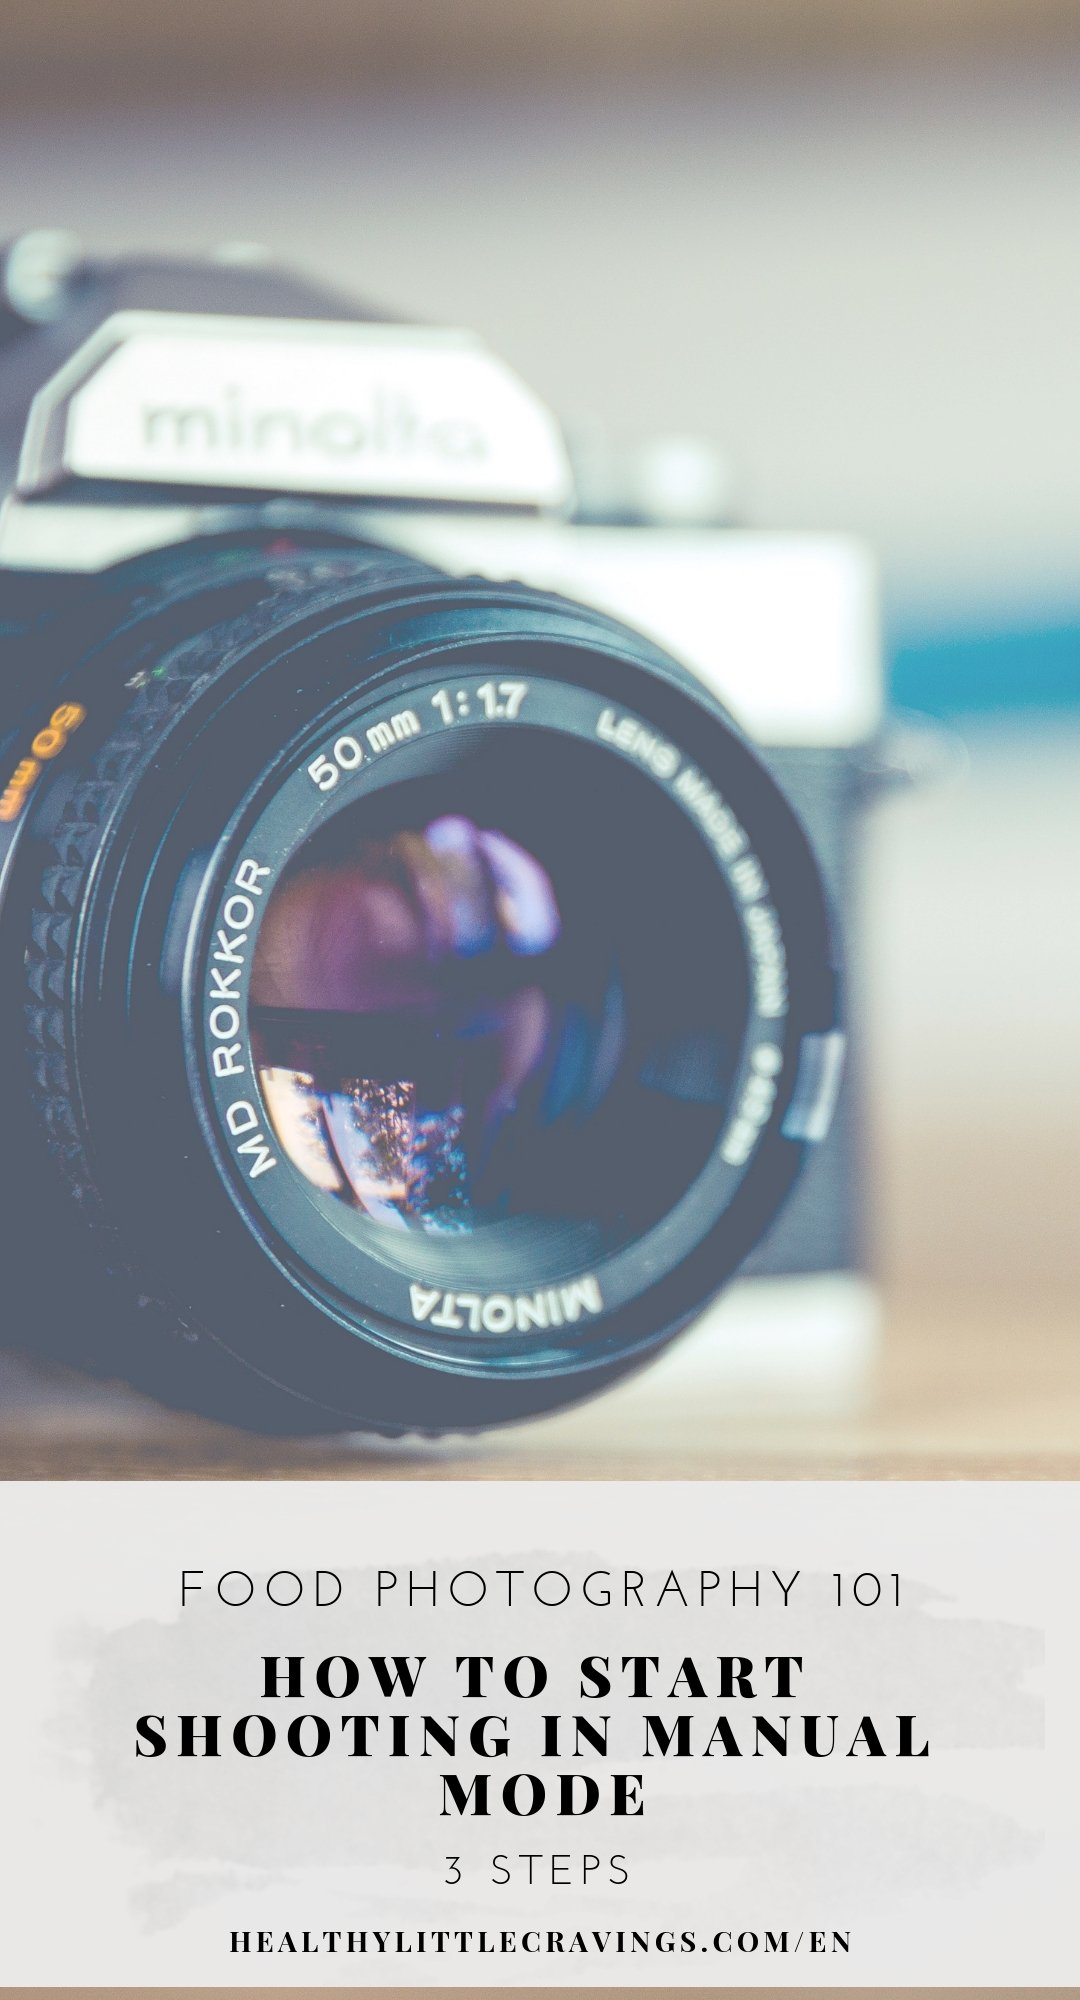
So, my advice for you: if you’re a beginner, read this post first, you'll learn how to start shooting in manual mode. Learning what aperture, ISO and shutter speed are, will make your life easier.
Taking an action shot now will probably be more difficult for you, but it's not impossible.
P.S. I'm gonna share the settings with you today, but please don't copy them: every set is different so they may not work for you in that particular moment.

How to take an action shot in food photography:
Now let's get to the heart of the matter: how can we capture movement? What are the essential steps?
One important thing you need to know: if you want to capture liquid, it has to have the perfect consistency. If the sauce you want to pour over your salad is too thick, don't be afraid to dilute it with a drizzle of water. It'll still be edible!
1. Get yourself a tripod
First good news: your food is still, it doesn't move, right? Think about sports photography, for example: subjects are moving continuously, maybe it's also raining. In that case, you reaaaally have to pay attention to every single detail and master your camera. Instead, I'd say we are luckier.
Despite this, if you want to capture movement in food photography, you will have something moving - duh - (milk, sugar, syrups...) and YOU will be moving something (a jug, a bottle...).
So, you need "someone" to support your camera, and that someone is the tripod.
While doing some research for this article I found out some people say you can also capture motion without it: that's true to a certain extent. In my opinion, if you work without a tripod, in this particular case, things will get more complicated. Tripod is essential.
Now you know what your next investment will be, right?
WHAT I RECOMMEND:
The following are affiliate links which means I make a commission off of them with no additional cost to you. Thanks for supporting me!
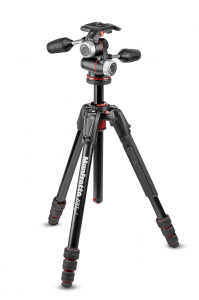
This is the tripod I’ve been using for over a year and I'm loving it!
2. Get to know your settings
I've mentioned it above: read this post before jumping into the world of action shots. If you don't know how to change your camera settings, if you don't how increasing your ISO will impact on your photo, if you don't know that you need a lot of light in order to capture motion... then reading this article will be pointless.
As soon as you'll start understanding what the device in your hands is doing and how it can help you, you'll be good to go!

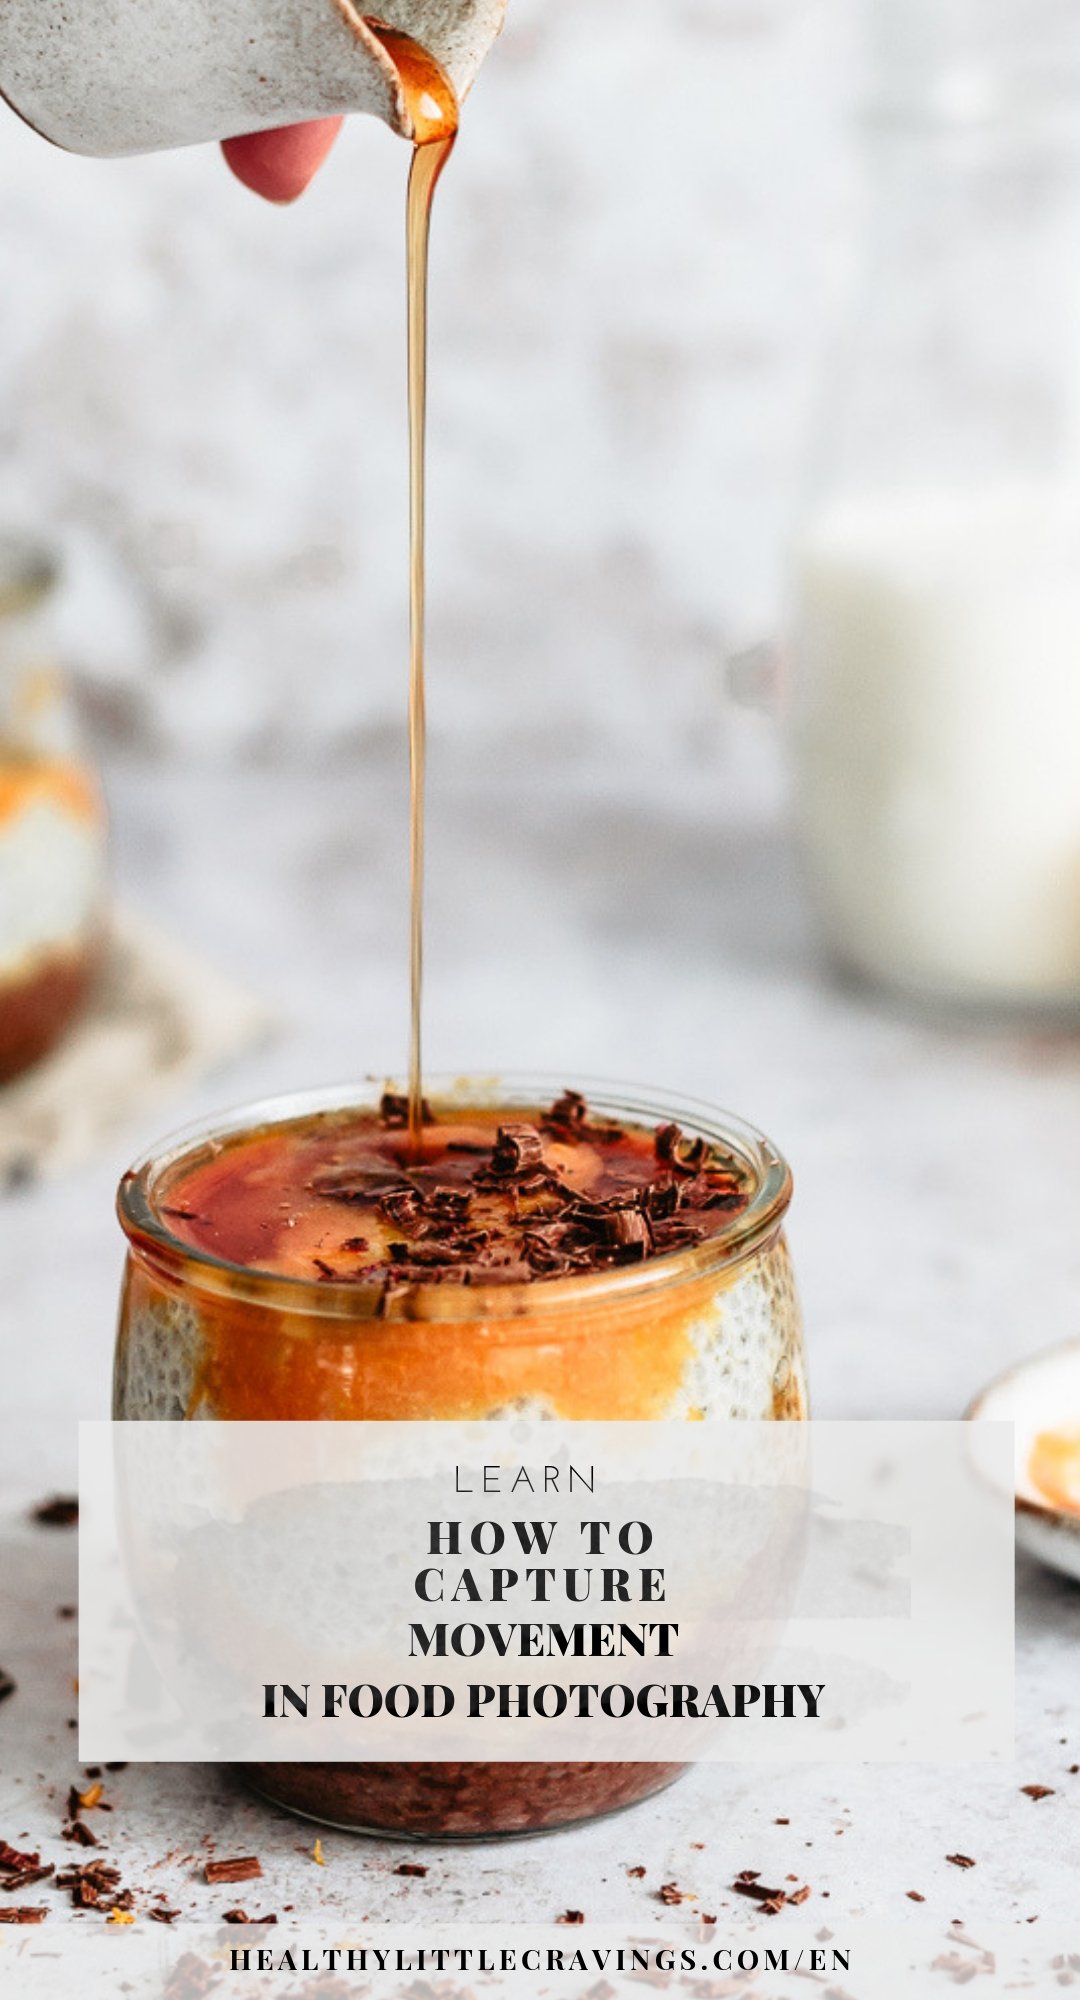
3. Increase that shutter speed, and adjust the rest.
Ok, now that you're familiar with your camera settings, you'll probably know that, to capture motion to a photo, you should increase shutter speed. Why? Well, shutter speed is that x amount of time that the shutter is open. In simple terms, how much time your camera spends taking that photo. If you want to be able to capture that milk pouring into the bowl, you'll need to be fast! To be sure, I usually shoot at least at 1/125 sec.
In order to increase shutter speed, though, you'll also need to increase ISO (pay attention to potential noise). If you usually shoot with ISO 100, like I do, try with ISO 400 or 800.
Regarding aperture, instead: I like to use a larger one (small f/stop) to really focus on that exact point. So, I compose my set, I open my camera in live view, focus on a point, then try to pour the liquid/powder over that point.
WANT TO LEARN MORE? BOOK A SESSION! IT'S TAILORED TO YOUR NEEDS!

4. Shoot!
It's time to capture that perfect action shot, friend! But how? Unless you have an assistant, like me, you have 3 options:
- use self-timer mode: I usually make use of self-timer when I have to hold a pot and use both my hands (see the hot chocolate's photo above).
- use continuous shooting mode: the photo below was taken with continuous mode. When I shoot with my 50 mm and my camera is pretty close to the set, I can press the button and take multiple shots. This will be a bit more uncomfortable than the other two options.
- use a remote controller: I still don't have one, but if you do this is probably the best option!
The takeaway…
At this point, you are able to capture movement. Oh gosh, aren't you so excited?! I am!
Taking this kind of photos will communicate such a powerful story to your audience, this is the main message I want you to "bring home" today. Decide cleverly when and why you want to add a bit of movement to the shot and have fun!
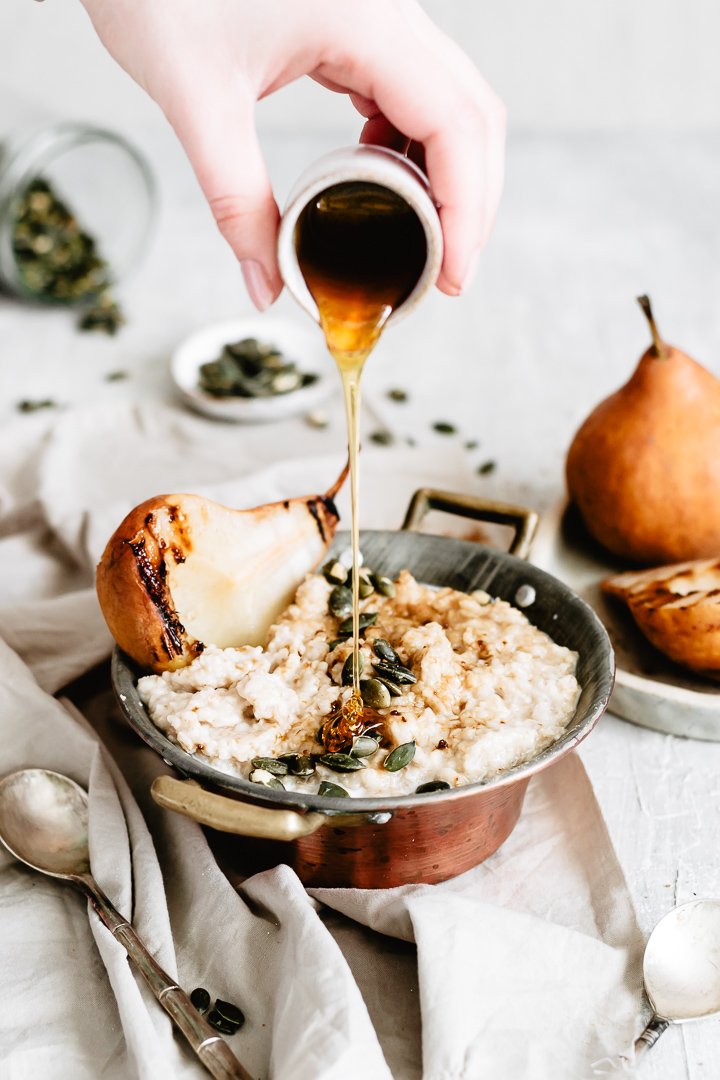
> Camera settings: ISO 400 | f/3.2 | 1/160 sec
I really hope you found this post useful. Now you know how to take an action shot, so go out there and shoot...you rock!
Heidi Pearson says
This is hands down the absolute BEST article EVER! Supremely helpful! Will text put these tips this weekend!
Thank you!
Roberta says
Hi Heidi! Glad it was useful
Roberta
MahimaKhandhar says
For the pouring honey photo, where did you put the focus?
Thank you for your reply though 🙂
Roberta says
Hi dear,
well I took that photo a long time ago, but just by watching at that you should be able to see that it's where you see those seeds! See where you see the drizzle?:)
MahimaKhandhar says
For such action shots, where is the focus that you've kept?
On the upper edge of food item? Or the pot from where the liquid is being poured?
Roberta says
Hi! It depends on the photo of course:) I focus where I want the focus to be. Makes sense?:)
Angela says
The photos are great inspiration for me. I'm just beginning, and I find capturing the strong focus & getting the movement challenging. Plus it's messy ! 🙂
healthyLC says
Hi Angela,
please ask whatever you want!:)
Hubert says
Thank you I'll aim at 1/1250 and see what I come up with.
Hubert says
Hello Roberta.
I hope you're keeping the virus at bay. I got the action shot using my nikon kit lens set at 1/320 - f5 - iso 25600 but the powdered sugar comes in like lines instead of flakes. What more can you suggest I might try to remedy that little problem? I have tried many different settings.
Thanks Roberta for the post.
Hubert
healthyLC says
Hi Hubert! I'm fine and thanks for asking. Hope you're well too.
Definitely try to increase that shutter speed!:) powered sugar is a bit tricky!!!
https://www.instagram.com/accounts/login/?next=/p/B8jXoLRqqr1/ This was shot at 1/1250!:)
Claire says
Thank you very much for all these rich and well explained tips! I will practice very quickly!
healthyLC says
so glad you think that. Please feel free to DM me on IG (@healthylittlecravings) your photos! <3
Jennifer says
This was great information Roberta, thank you! I’ll be practicing more actions shots soon!
healthyLC says
So glad you liked it Jennifer <3