Want to know what's the cheapest backdrop for food photography? Keep reading!
OK, to be fair, I've got to start with a "warning": these seriously are the cheapest backdrops you could think of (well, unless you photograph on your floor, that's already there) BUT they won't last forever and they're just meant to save you at the last minute if you don't know what to do. It worked for me and I'll tell you why in a few minutes. If you want to know how to make it, jump to the end!
Now...let's talk cheap backdrop for food photography!
If it was for me I could buy thousands of dollars (or, better, €) of backdrops. I mean, seriously. I've been "drooling" over so many backdrops out there (one site particularly, Capture by Lucy).
In addition to that, I would also make by myself dozens of them. They're extremely easy to make, handy and resistant. Highly suggested!
I've got a tutorial on YouTube that explains how to make them (here), but this one by The Bite Shot is way better.
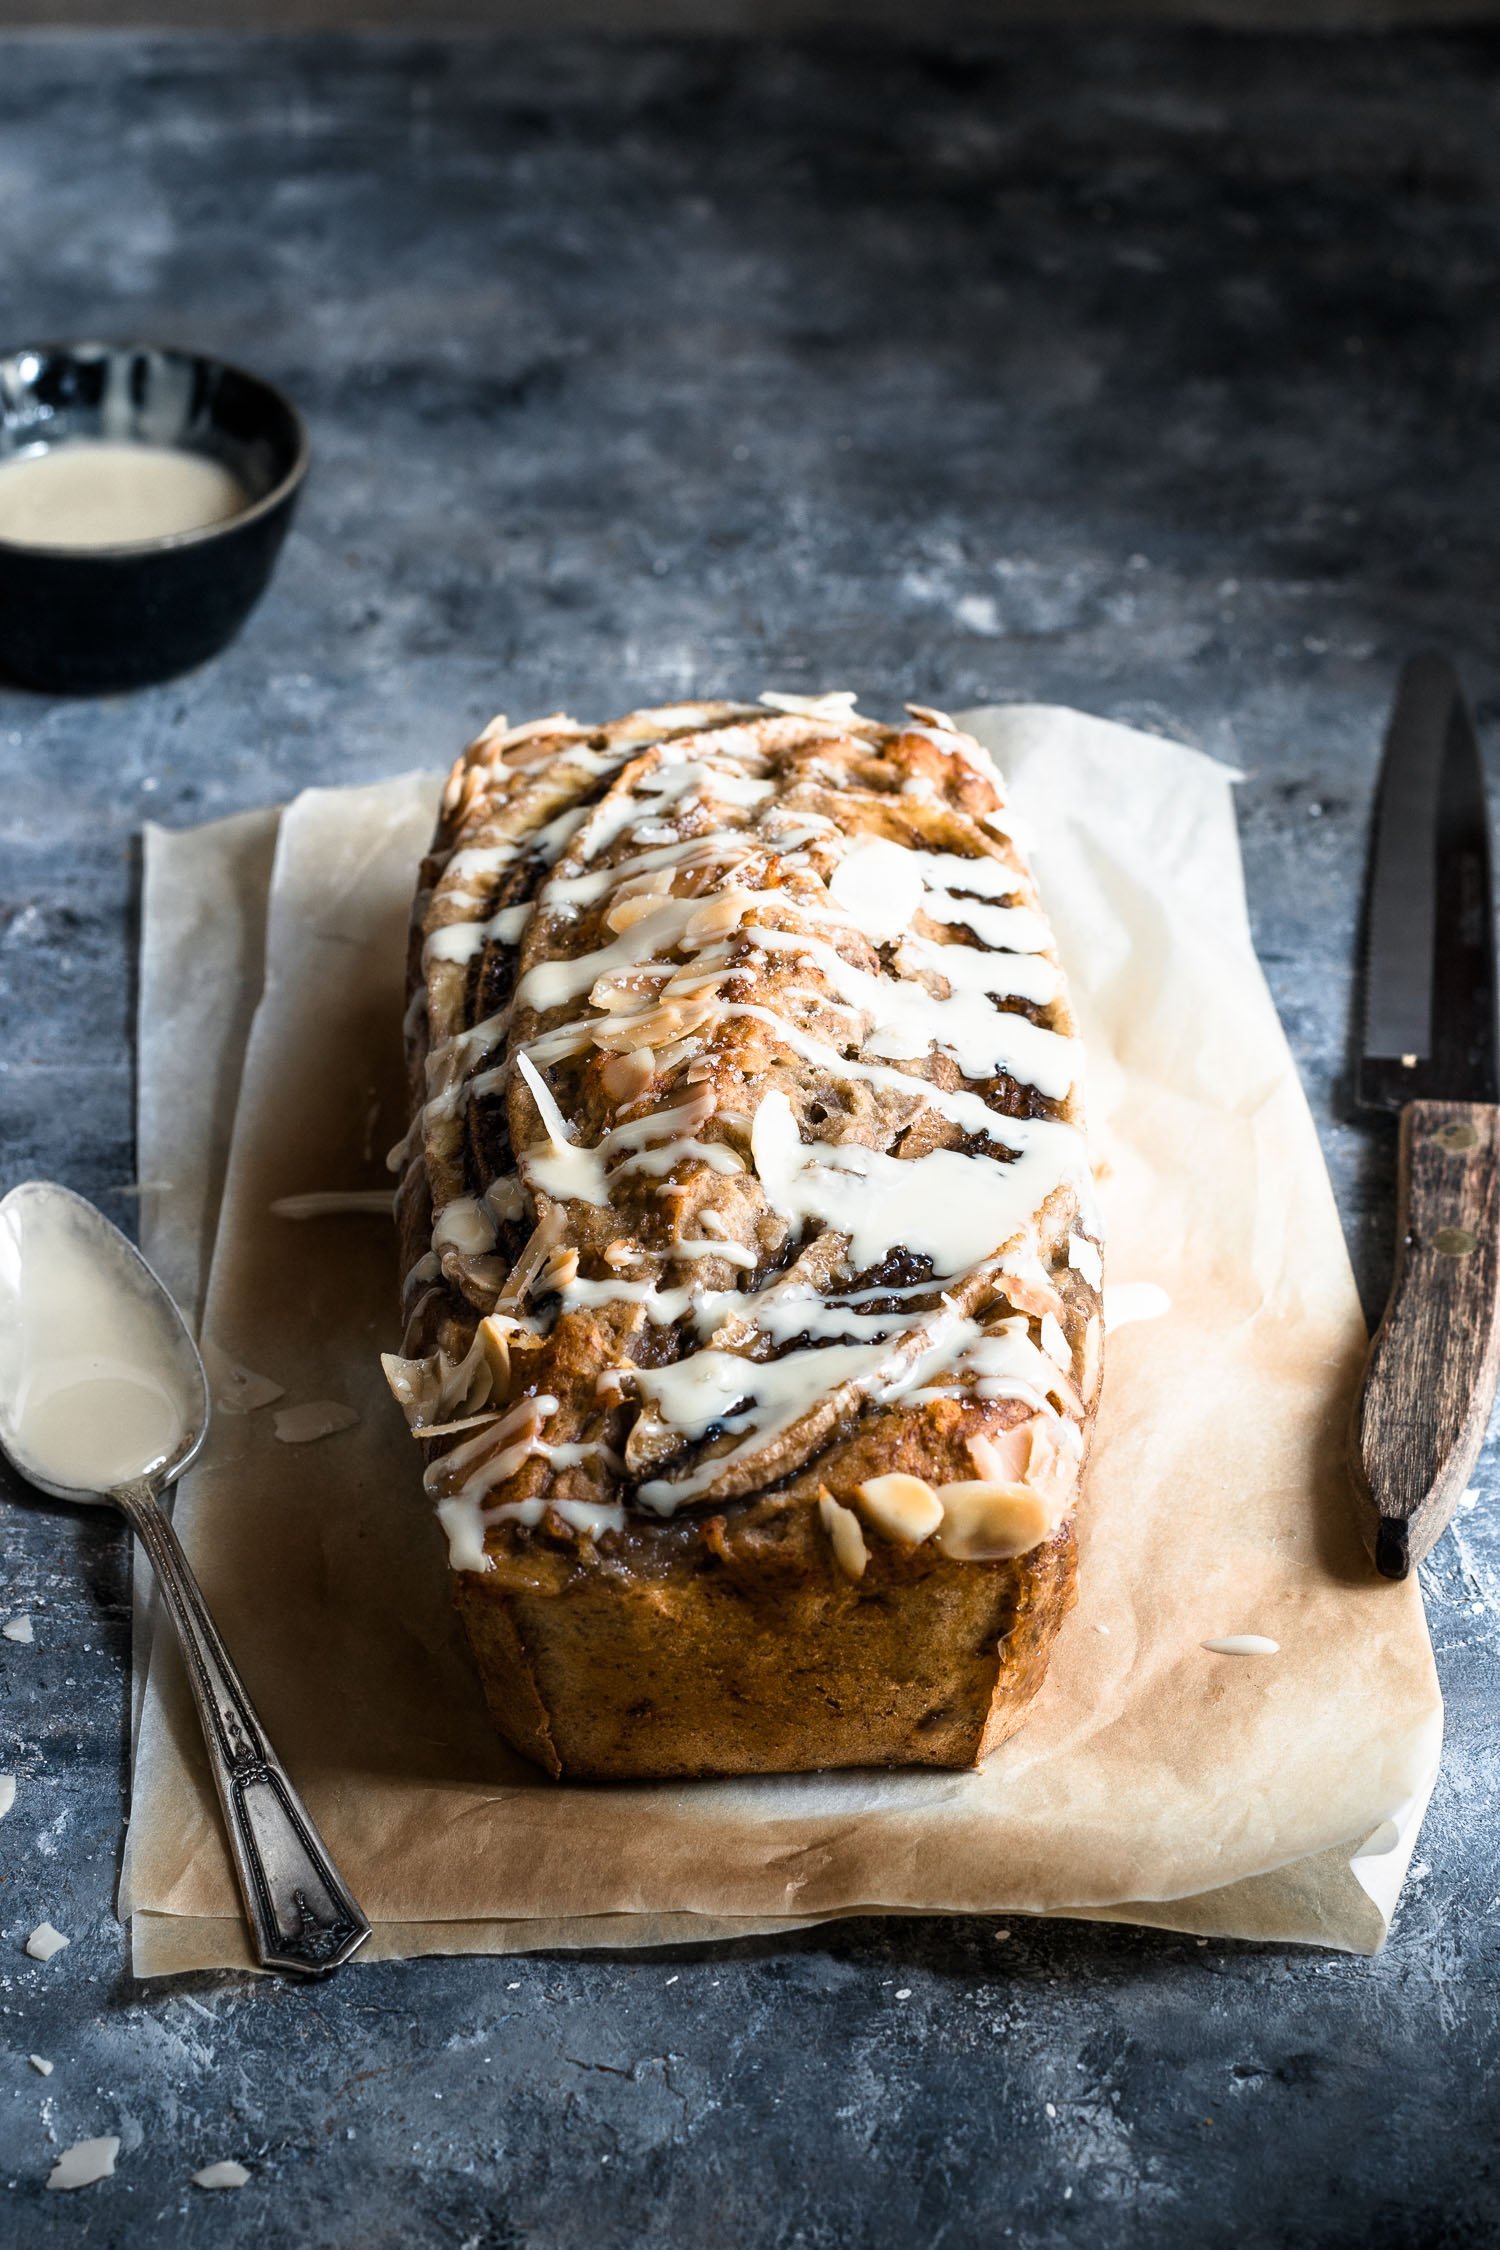
See this pic? This is a DIY backdrop made with plywood, paint and joint compound. Look at the texture! It took me just a few € and about half an hour to make (plus "resting" time).
Where the idea of the cheapest backdrops came from...
If you follow me you know I've got a long distance relationship and this means that every month I have to travel from town to town with a suitcase full of clothes, make up, other stuff and also photography gear and some props if I want to shoot at my boyfriend's place.
But I don't travel by car, I've got to take 3 trains to get there. THREE damn trains, THREE hours and a half of travel time and a lot of stairs. Therefore, the less into my suitcase the better (positive side: my biceps thank me).
The lightest backdrops I can carry are the vinyl's ones I bought on Etsy some months ago, but they don't always fit to my suitcase. So last time I went visiting my boyfriend, I didn't bring along any backdrop (I was also joining #getminimal challenge by @twolovesstudio, less was better).
And that was the moment. I thought: 'Ok, I can print some image I love and use them as a backdrop!' - you guys, MIND-BLOWING!!! I mean, this idea literally saved me in a moment of (almost) panic. Especially if you shoot minimal, you have to have a nice and textured backdrop and I didn't have anything with me.
PRO & CONS
These cheap backdrops have pros and cons and, since I always want to be crystal clear, I'm going to make a little list so can make an idea:
CONS
- they don't last forever, if you pour something on them you have to throw
- you inevitably have to adjust the picture in Photoshop to remove the shadows onto the sheets
- I can't think of any other disadvantage right now.
PRO
- they're extremely cheap (well, we're talking about cheap backdrops duh)
- you can change them whenever you want to (dream for us backdrops-addicted!). Just click 'Print'!
- they're handy
- they save you at the last minute if you don't have any backdrops with you (you can also make them print in a copy shop if you don't have a printer at home)
If you're like me, you'll see the glass half full...there are more pros than cons!
HOW TO
What you need to make your own backdrop for food photography: sheets of paper (so cheap!), printer, royalty free image, Photoshop or other editing software.
1. Choose the image you would love to have as a backdrop. Choose something neutral, with texture, but not too precise because you will have to edit later.
Websites to choose from:
- Pexels
- Pixabay
- Unsplash
- Freephotos.cc
- Dreamstime (you have to register)
...and many others.
Remember, do not steal images from other people, make sure they're royalty free.
2. Make adjustments & cut it
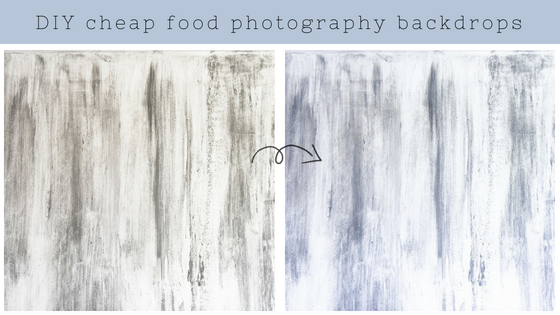
Before printing your backdrop, I suggest to use Lightroom to adjust the colors if you don't like the original ones. See this example, I made it more blue-ish by increasing the saturation of color blue.
Another advice I can give you is: download the pics in high quality and then use Photoshop (or other software) to crop it into A4 images (210 × 297 millimeters or 8.27 × 11.69 inches) so you can print each one and have a bigger backdrop.
I usually print four A4 sheets and then stick them together.
3. Print it
It's finally time to print! Don't jump to conclusions: I print with a cheap Canon printer that my boyfriend bought for only 2.55€ because he had to use a discount code of 35€ (lucky us!). So you don't need a super fancy printer neither.
It's all so feasible.
4. Final edit with Photoshop
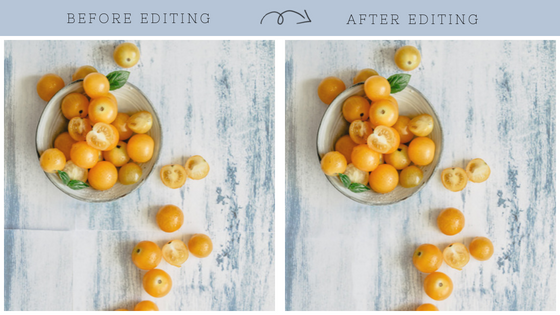
You probably will have to make some adjustments with Photoshop at the end, to remove the shadows caused by the edges of the sheets. Easy: use spot healing brush and clone tools in PS.
See here?
Final tip
I usually use these backdrops to shoot minimal food and closeups so I don't have to print many sheets. Highly suggested!
I've already shared this trick with some people in a food photography group and they all said I've been kind of a genius. I don't feel like that. Instead, my parents taught me to always muddle through situations and sharpen my wits. This is the result.
Just give a try to the cheapest backdrops for food photography...and let me know!
Did you miss the first Food photography 101 post? No problem, you can find it here!

saltandserenity says
I agree with your Food photography friends. Genius idea. Love your outside the box thinking. I also love the backdrops from Capture by Lucy!
Maybe your boyfriend could come visit you, and then you wouldn’t have to shlep all your gear. Just a suggestion!!
healthyLC says
Oh yes we already do that! 🙂 he comes here every couple of weeks and I do the same.
XXX
hug